Quantcast
Channel: publisher – Tildas World
Viewing all 152 articles
Browse latest View live

Tilda Blog Hop Autumn 2016

$
0
0

Stitch Craft Create is doing a great Tilda Blog Hop with the autumn news Cabbage Rose and Memory Lane.

Cabbage-Rose-1
Memory-Lane-1

Follow the Blog Hop here:

1st August – Stitch Craft Create
2nd August – Stitch Craft Create
3rd August – Vicky Myers Creations
4th August – Strawberry Patch Ramblings
5th August – Charm About You

8th August – Crafting Not Cleaning
9th August – Popular Patchwork
10th August – Dinki Dots
11th August – Little Black Duck
12th August – Tea and a Sewing Machine

15th August – A Saucy Stitch
16th August – Very Berry Handmade


A colorful autumn

$
0
0

This year we just had to go for a colourful optimistic autumn look.
Whatever worries we might have or however sad it is to see summer fade into autumn; Cabbage Rose will make Tildasworld  a haven of positive colours this autumn and winter.
The second collection Memory Lane is inspired by the 20s colour scheme, blue black and olive greens combined with turquoise and pink.

Here is a presentation of the autumn collections!

CABBAGE ROSE

The Cabbage Rose Collection is a playful series inspired by colourful characters like 1950s comedian Lucille Ball and Astrid Lindgren’s Pippi Longstocking.

Designs with rabbits and flowers in soft orange, blue-green, red and pink give the series a sweet and colourful feel – perfect for pleasant patchwork quilts combined with folklore appliqués.

Cabbage Rose is an homage to “everyday roses” who inspire and add colour to life with their creativity and joie de vie.

Lucille-Ball
Lucille Ball was the inspiration for the Cabbage Rose logo.

Cabbage-Rose-1Cabbage-Rose-2Cabbage-Rose-3

MEMORY LANE

The Memory Lane collection is inspired by the 1920s, with its innovative fashion and colours, jazz, the Charleston and Art Deco. The patterns comprise both classic and more modern floral designs.

Colours such as bluish-black, olive green and off-white with hints of pink and turquoise result in a beautiful, interesting combination for a style that is both classic and perfect for today.
The series is excellent for both patchwork quilts and formal bags.

If you love the 1920s style – a good tip is the BBC series “The House of Eliott”

Memory-Lane-1Memory-Lane-2Memory-Lane-3


Cute dress fabric

$
0
0

If you plan to add a cute home-sewn vintage dress to your wardrobe the Libby fabrics are perfect. 
We love Libby Dark Slate but if you are going for more colour Libby is also available in Pink, Teal and Olive.

We found a good selection of vintage dress patterns at White Three Fabrics and Jaycotts.

Cute-dress-fabric

For fun details you can add matching buttons, available in three in different sizes.

Memory-Lane-Buttons

Patchwork Animals

$
0
0

We are totally in love with the new Rabbit and Squirrel Patchwork kits. You might have noticed the rabbit is on the cover of the Tilda catalogue. 
They are perfect projects for anyone who loves to sew and the right size project for new beginners who wants to learn patchwork.

The animals can work as decorative pillows and are perfect for children’s rooms. 
We added a gift tag and some string to the kit as a cute detail.

Patchwork-Animals

PINCUSHIONS

$
0
0

These lovely pincushions are very easy to make, and how you choose to put the fabrics together has a big effect on the result.
You need 8 lovely matching fabrics, embroidery yarn and needle, and 2 buttons.

Here is the Pincushion Template.
The dotted line on the template shows the seam, and the outside line is the 0.25in (6mm) seam allowance.

We suggest printing the template onto thick photo paper; you can then just let the pen slide along the edge of the paper shape when drawing the shape onto the fabric.

Pincushion

Draw the shape onto the back of each of the eight fabrics. See figure A. Cut out each piece along the drawn line.

Place the pieces in a “flower shape” on the table to see in what order the fabric pieces look best before you sew. See figure B.
Place two pieces right side together and sew 0.25in (6mm) in from the edge. See figure C.

Open these out and then place the next piece right side against one of the sewn together shapes. Sew on in the same way as before. See figure D.

Continue until all the shapes are sewn together. Now place the two end pieces right side together and sew along the line until you have a couple of inches of opening left for turning through. See figure E.

Turn through to the right side, fill the pincushion with toy stuffing/wadding and then hand-stitch the opening shut. See figure F.

Next, thread a needle with a long strand of embroidery yarn. Insert the needle through the back of the cushion to the front, through a button placed in the centre, and then back from front to back and through the other button at the back.

Pull the yarn ends to make a little indentation in the cushion where the buttons are and then tie the ends together securely and trim thread ends.

Pincushions-2

Pincushions-3


Paper Piece Appliqué

$
0
0

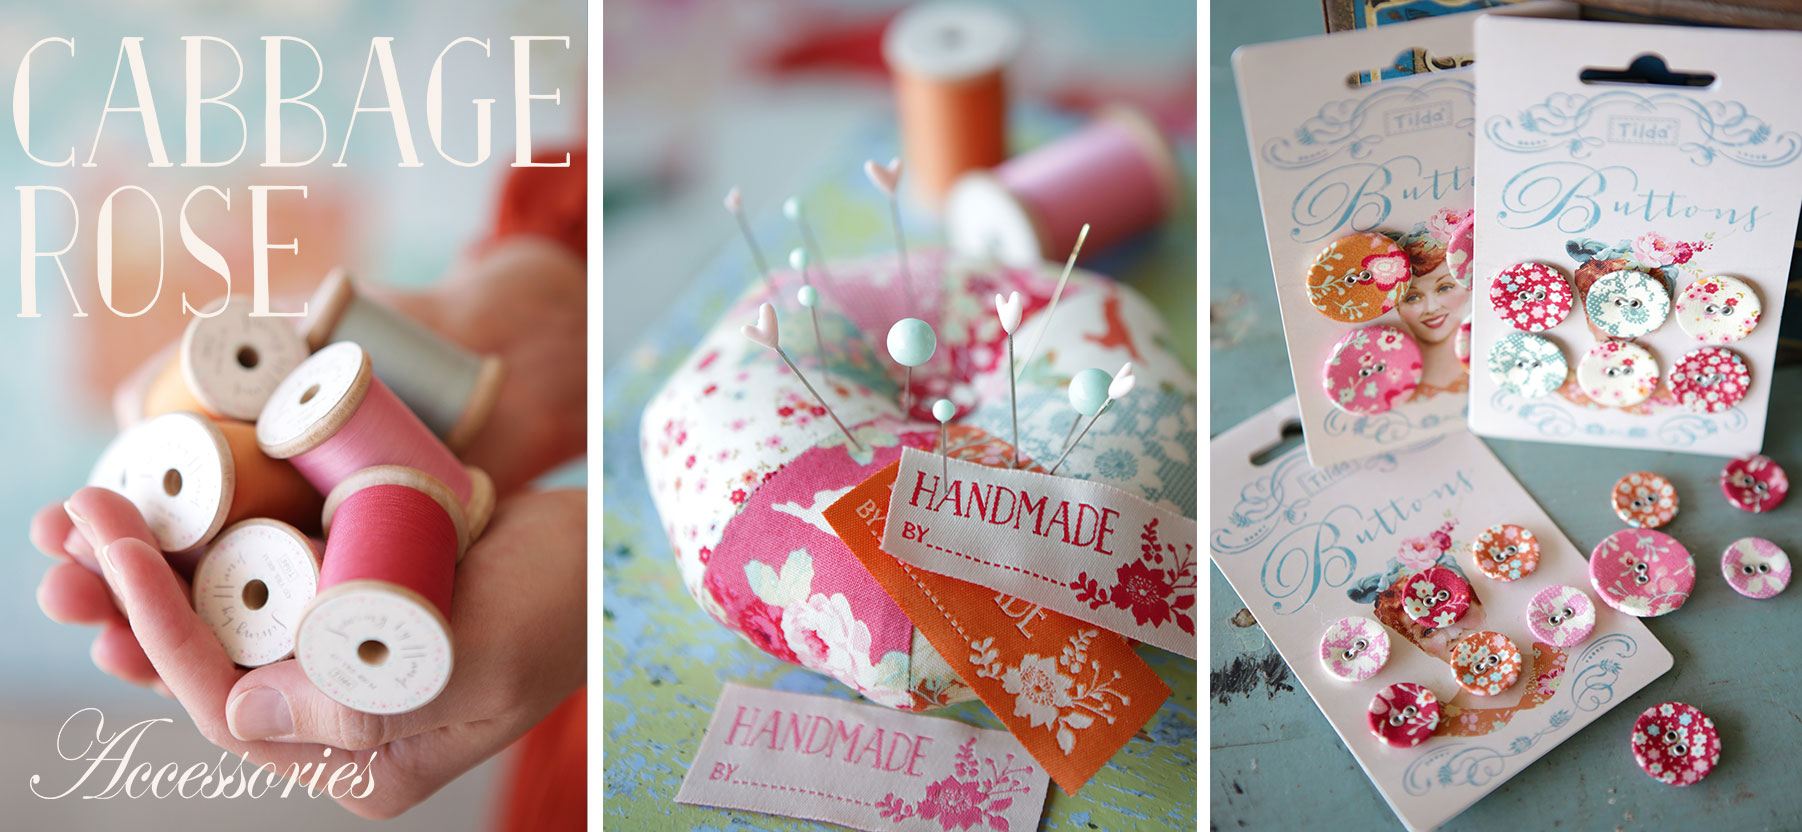
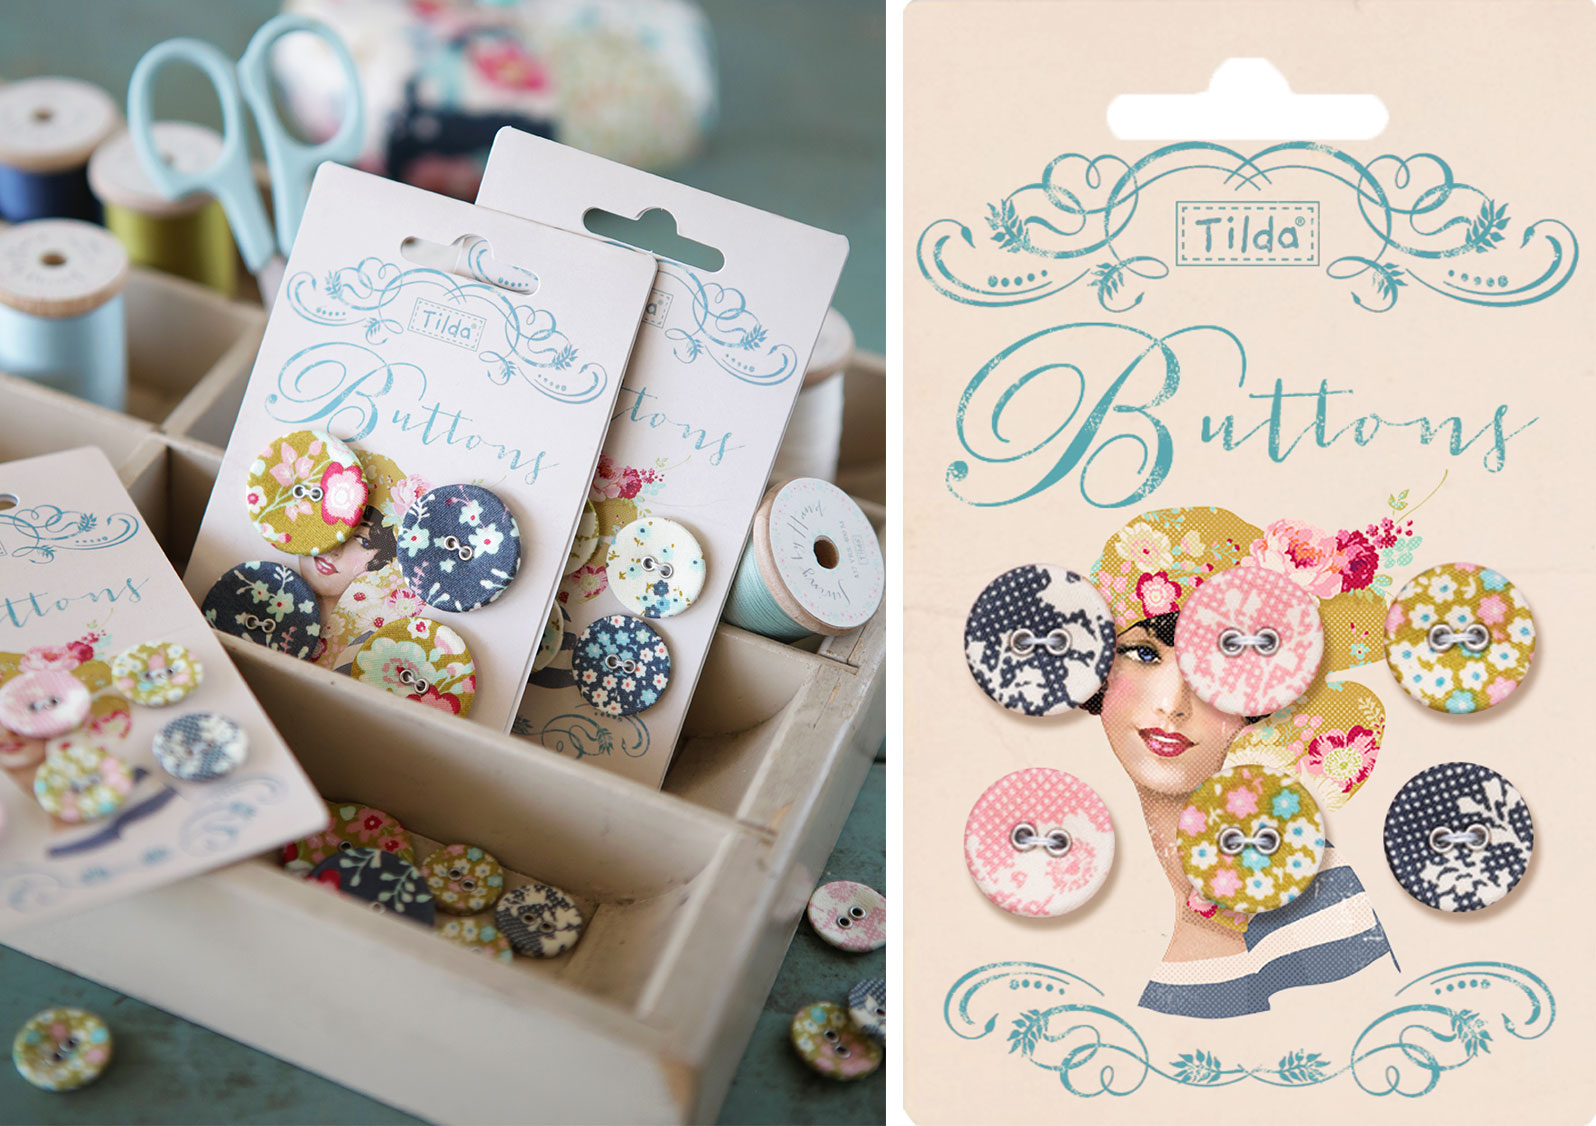
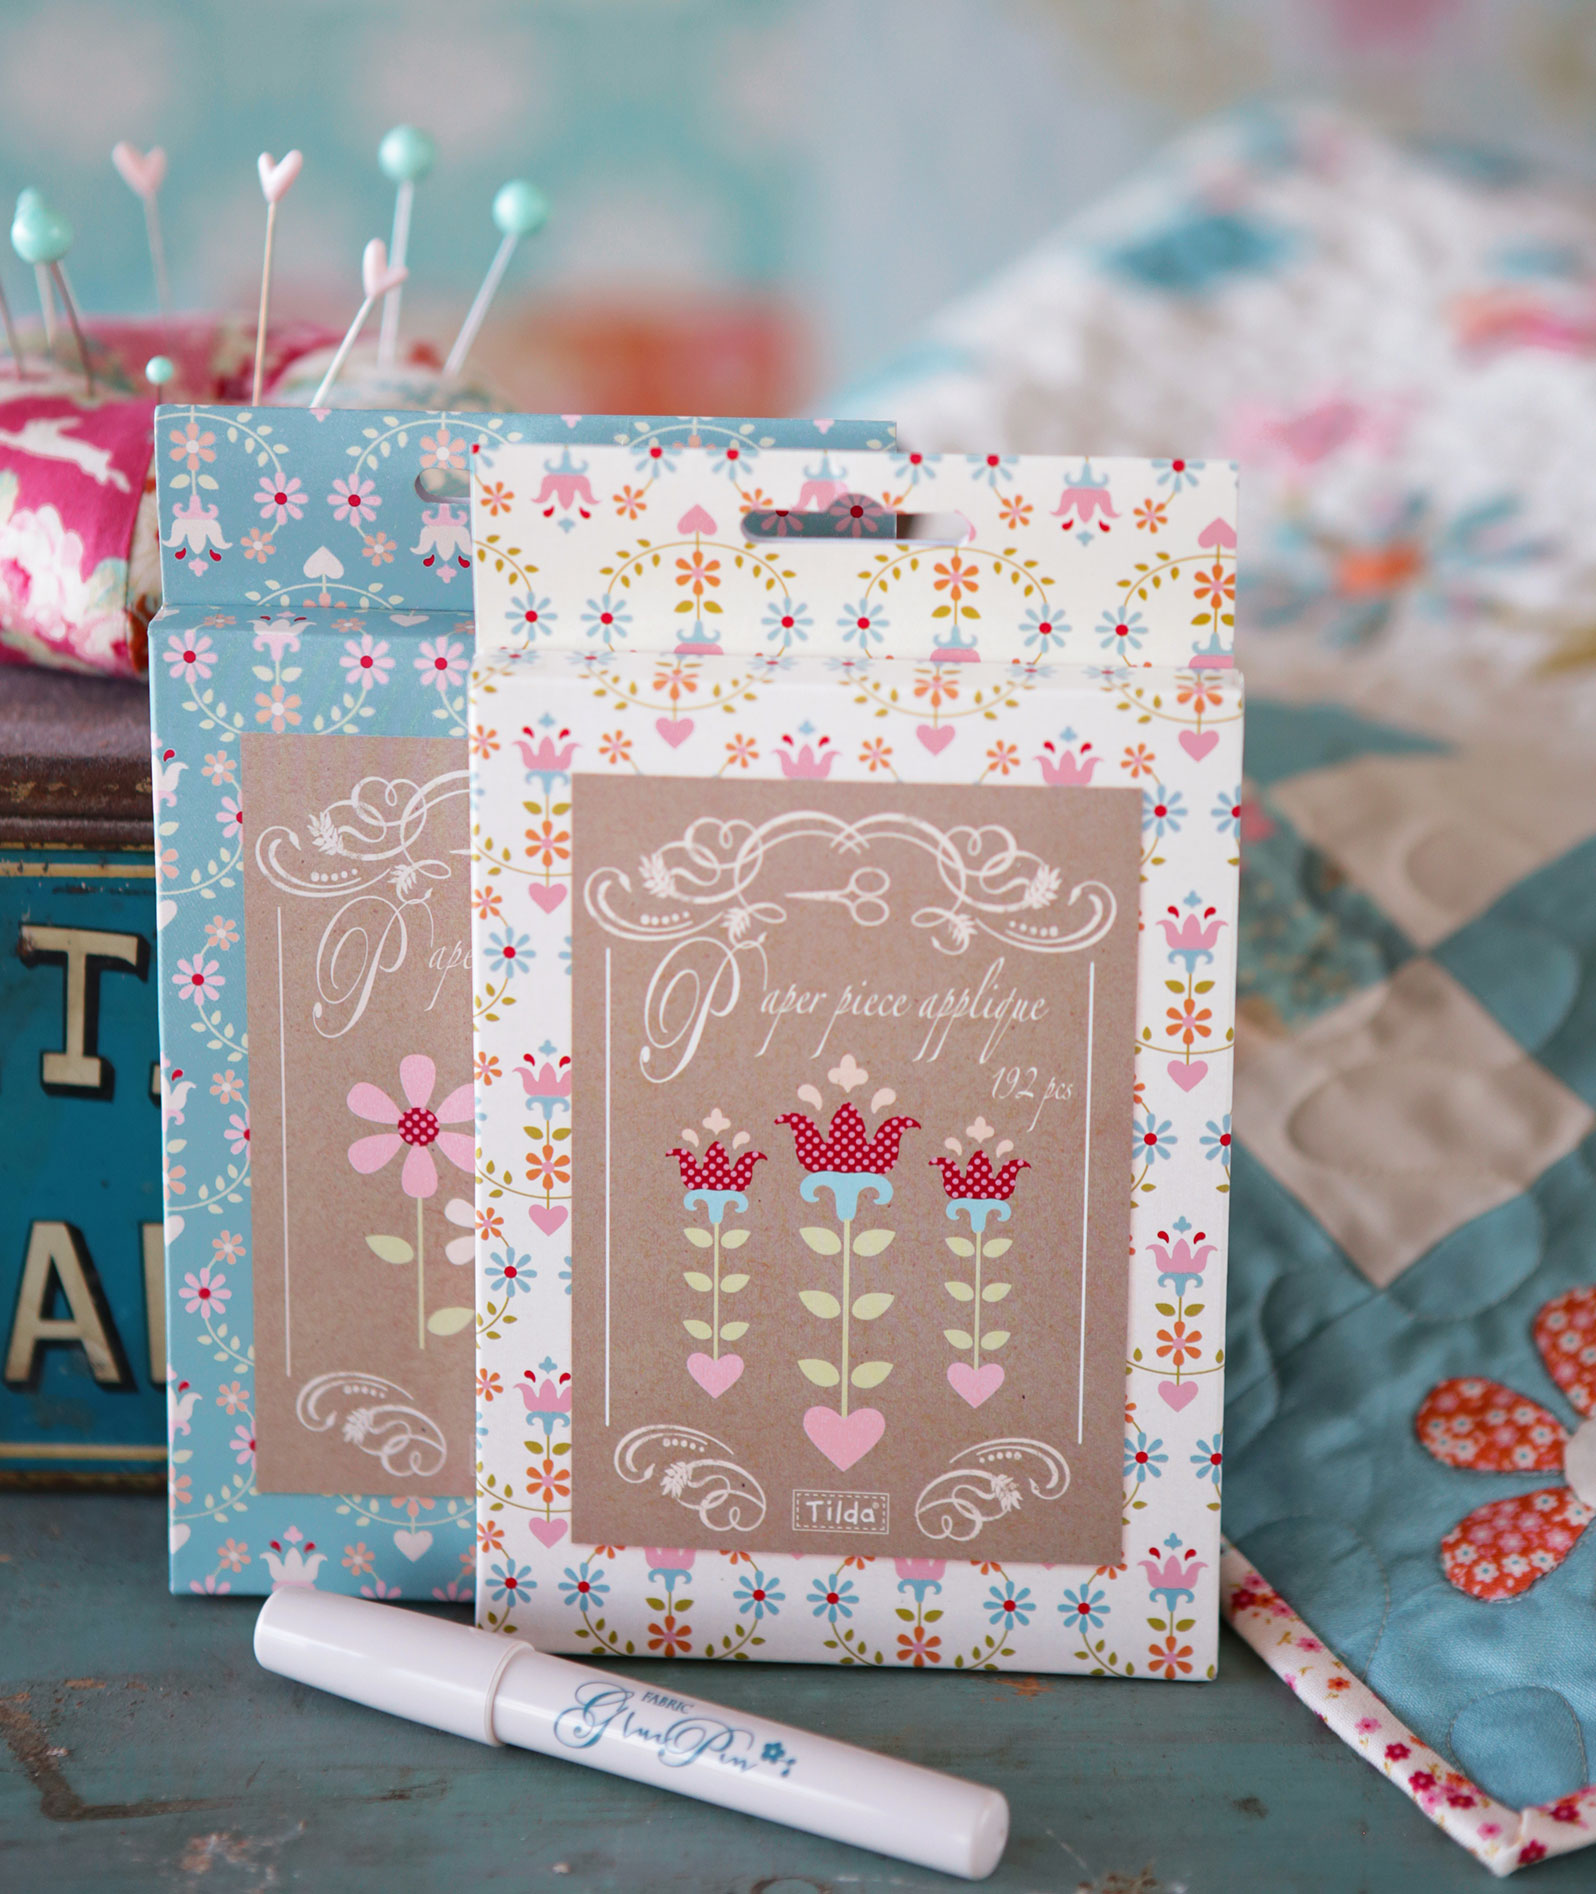
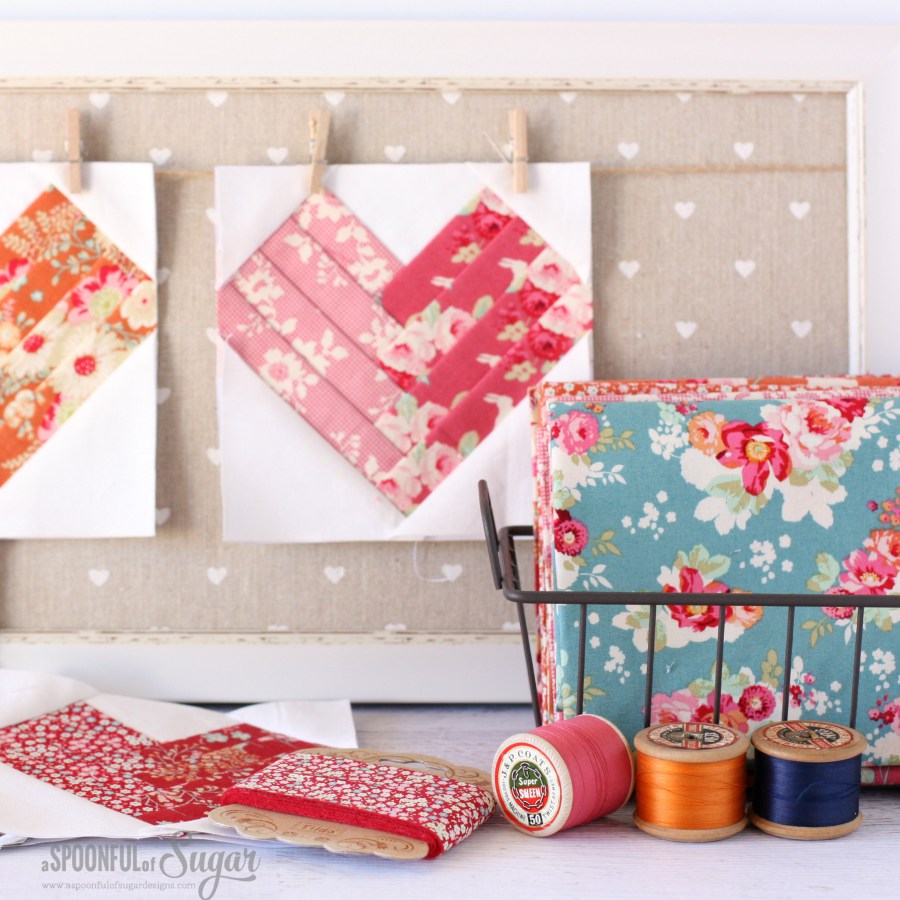
You might have seen the new products called “Paper Piece Appliqué” among the Tilda news this autumn.
Many of you know about freezer paper appliqué, and this is kind of the same technique except the paper pieces are pre cut witch will save you a lot of work.
There are two different designs, and each package contains nearly 200 pieces so that you are able to make many different motifs.

Paper-Piece-Applique

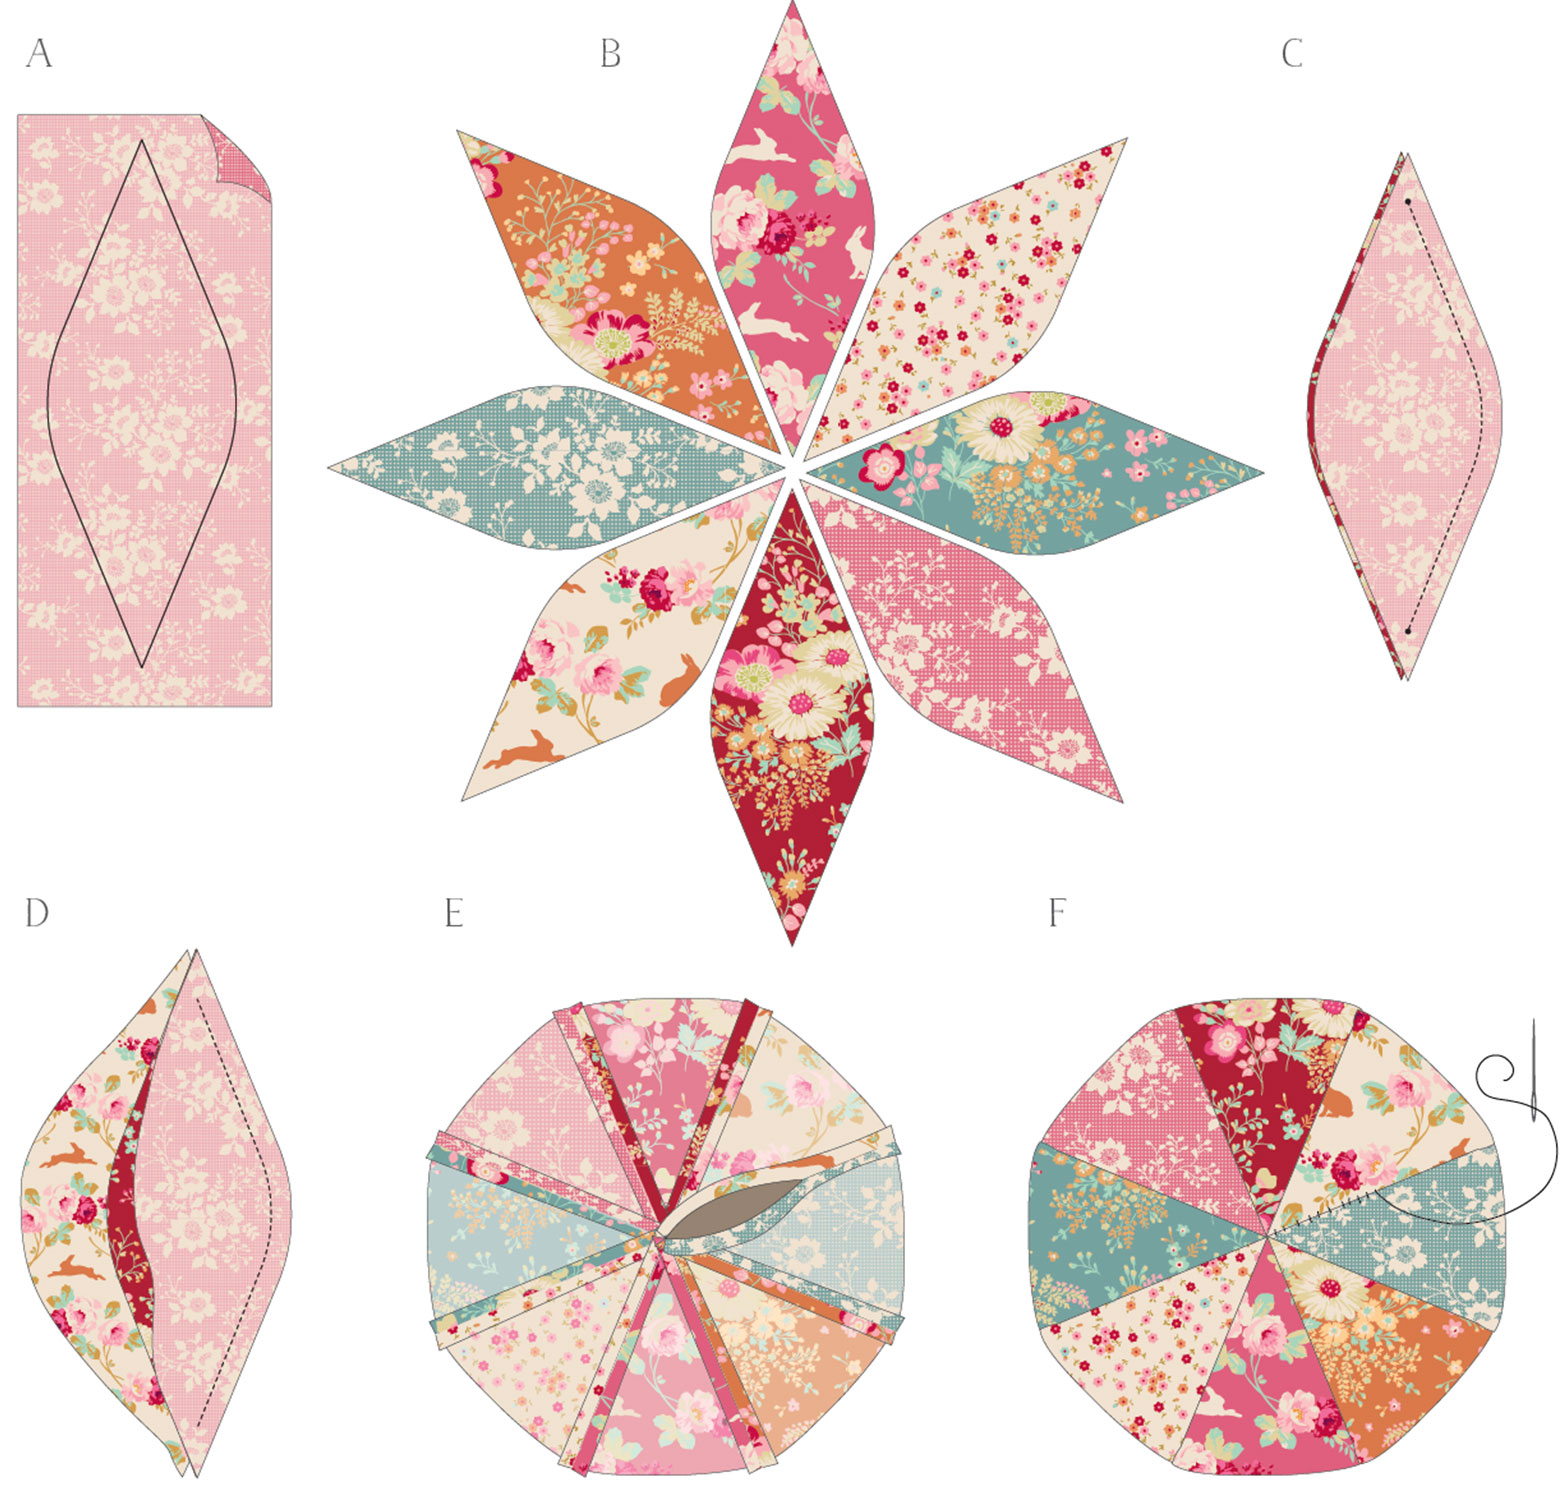
Here is how you do it:

Place the card template on the fabric. Cut about 0,25-0,3 in outside the edge of the template for small pieces and 0,4 in for larger once. When using very small pieces make sure the edge of the fabric is not too large to be folded around the template.

Place the card template against the wrong side of the fabric piece. Spread glue along the edge of the template. Try to avoid getting glue on the edge.
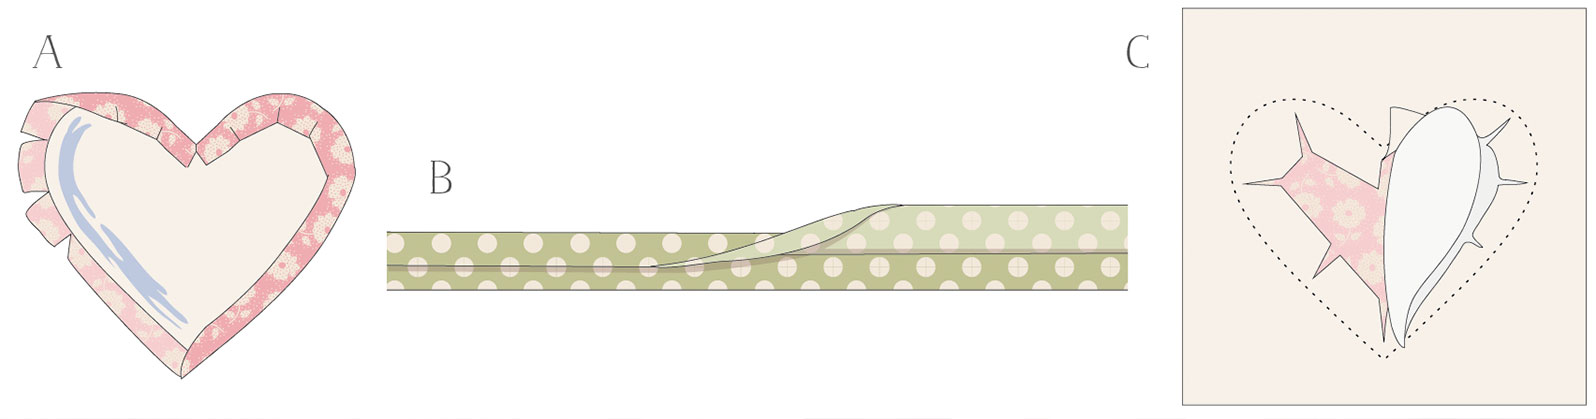
Fold the fabric around the edge of the template, see figure A. On small pieces it might be easier to use a flower stick or the like instead of your fingers.

If you want to use stems or branches in your design cut strips slightly less than 3 times as wide as you want the finished stem/branch to be. Spread Paper Piece glue all over the wrong side of the strip. Fold the edges in towards the middle, first one side, then the other. See figure B.

Place the stem/branch and your fabric covered paper pieces on the background fabric and adjust until you are satisfied. Use paper piece glue to attach the pieces.

Sew the branches/stems and fabric covered pieces on to the background fabric using small “invisible” stitches around the edge. Try not to sew trough the templates. Then cut trough the background fabric from the back and coax out the card pieces. See figure C. It can be helpful to use tweezers to get the small pieces out.

If the cut-up edges on the back refuse to sit smoothly, you can glue them towards the middle of the applique with some Paper Piece glue.

Paper-Piece-Applique-Step-By-Step

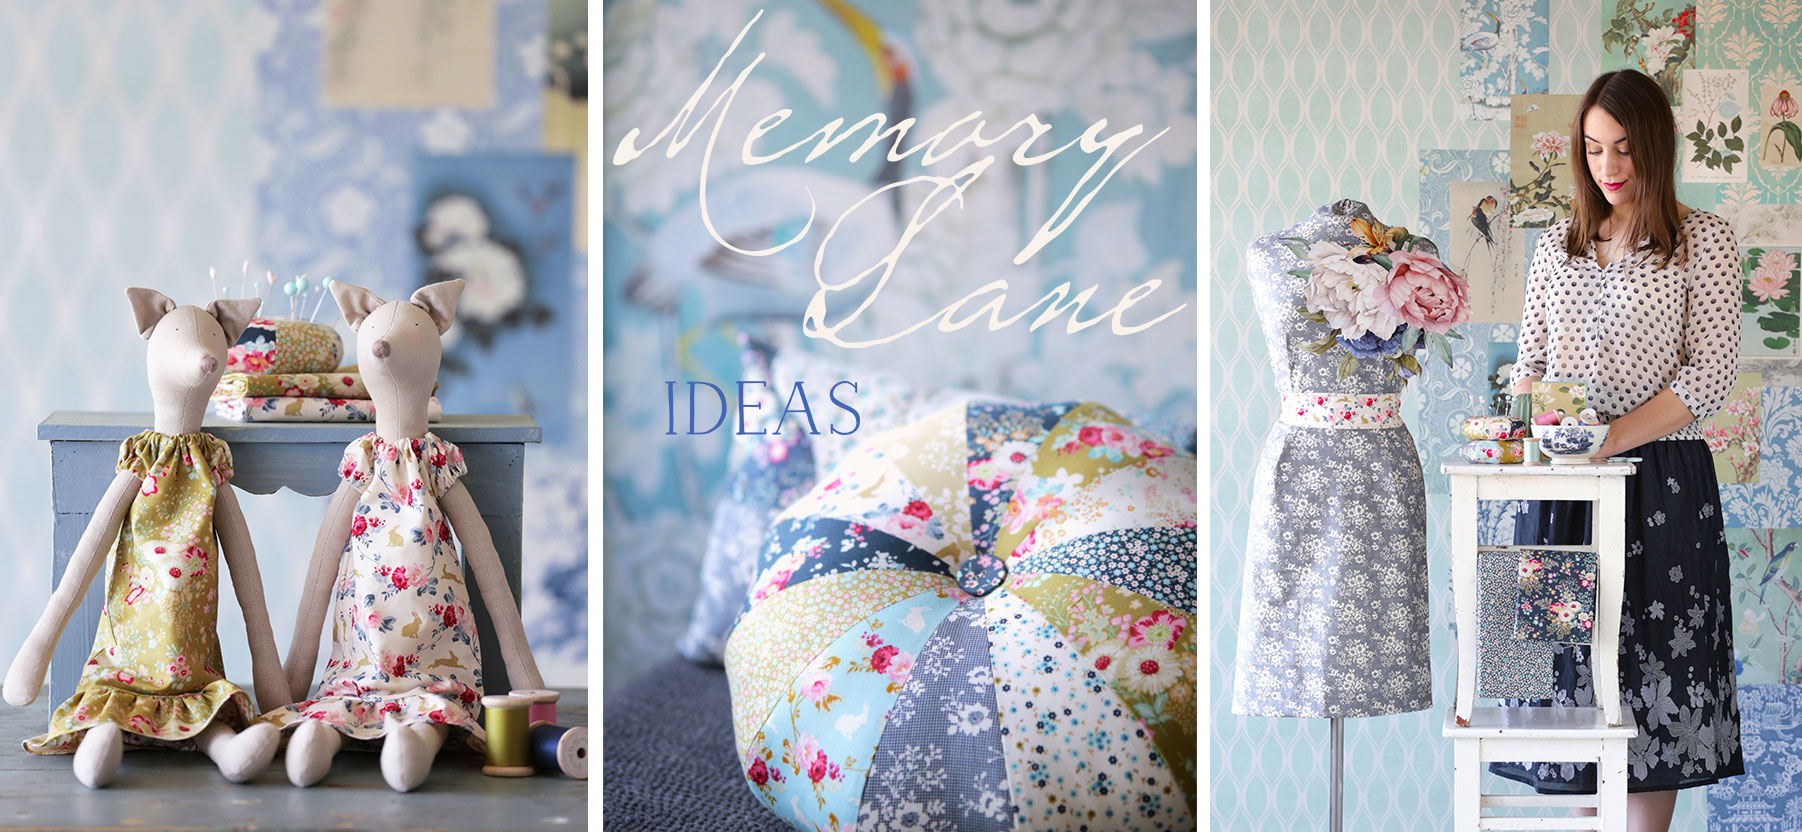
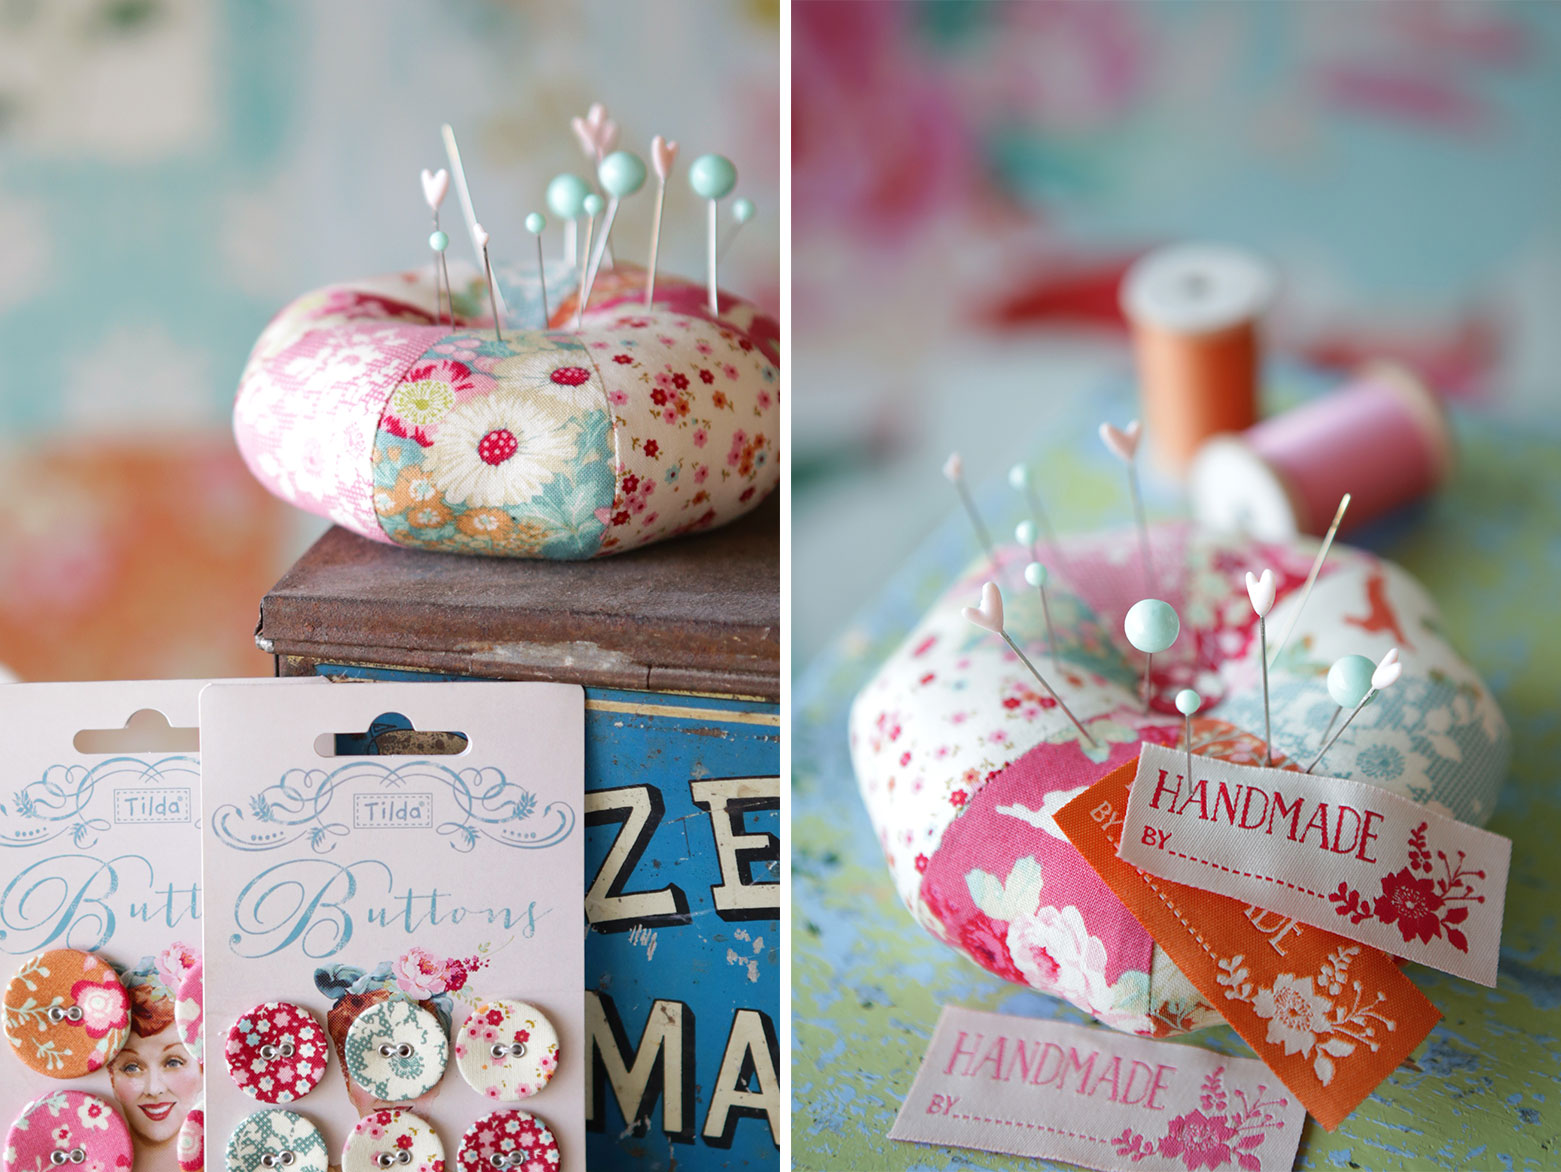
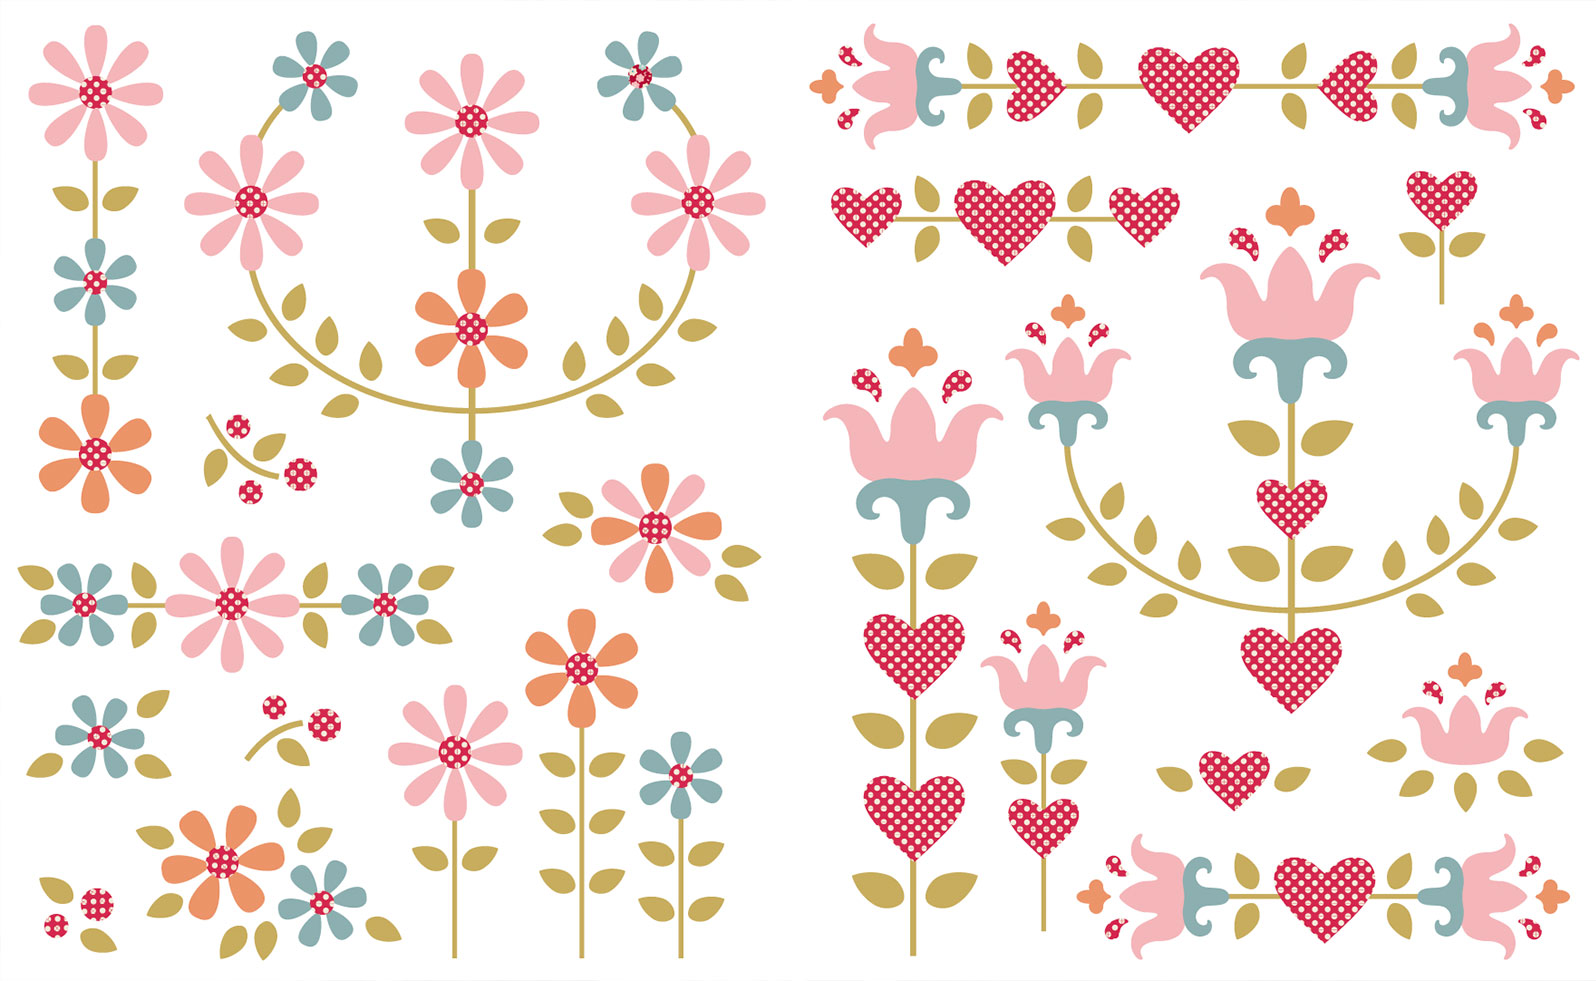
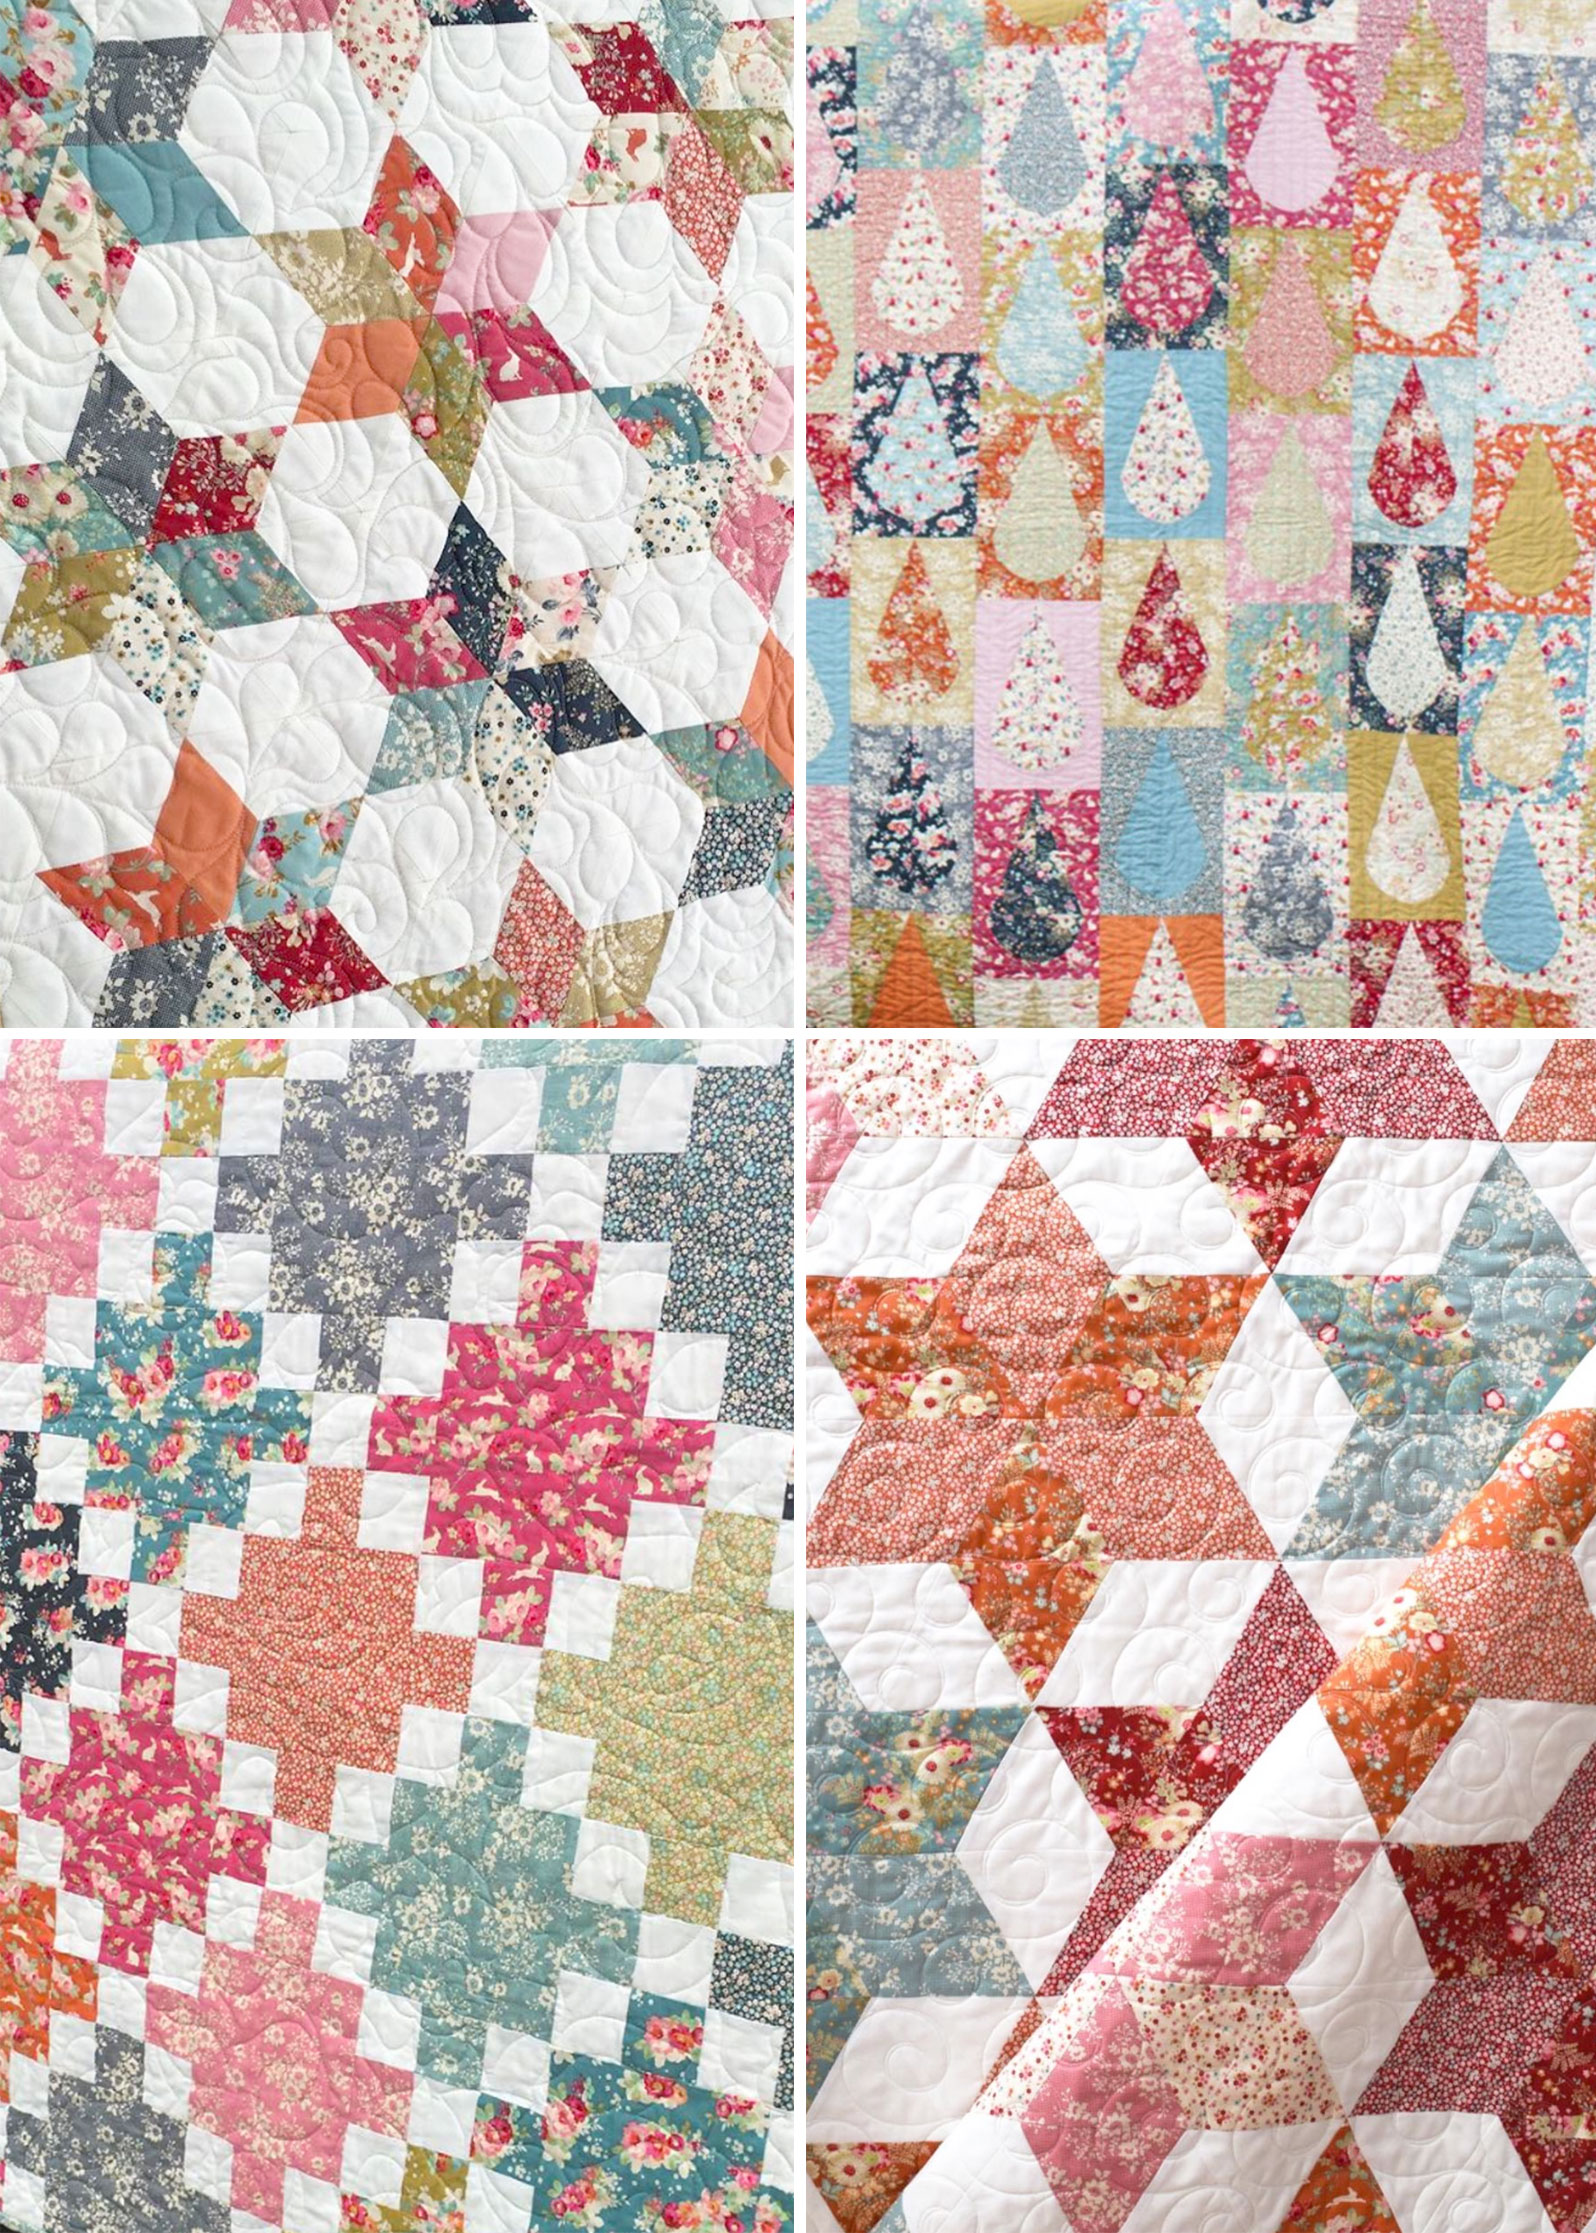
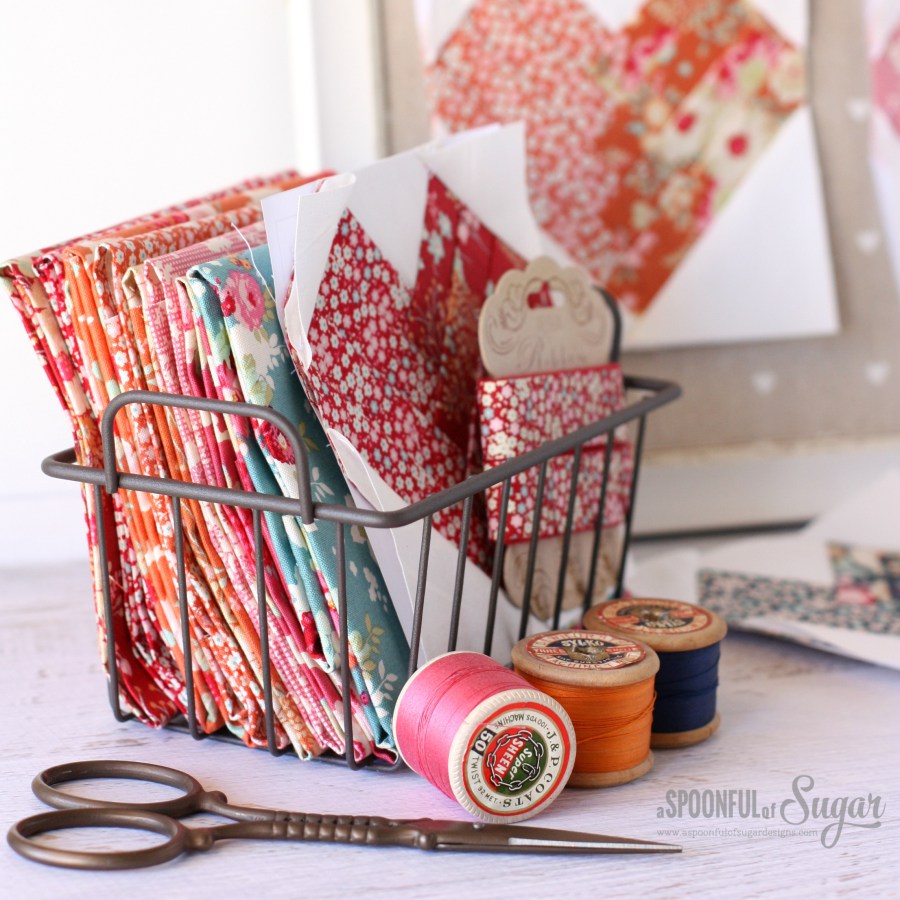
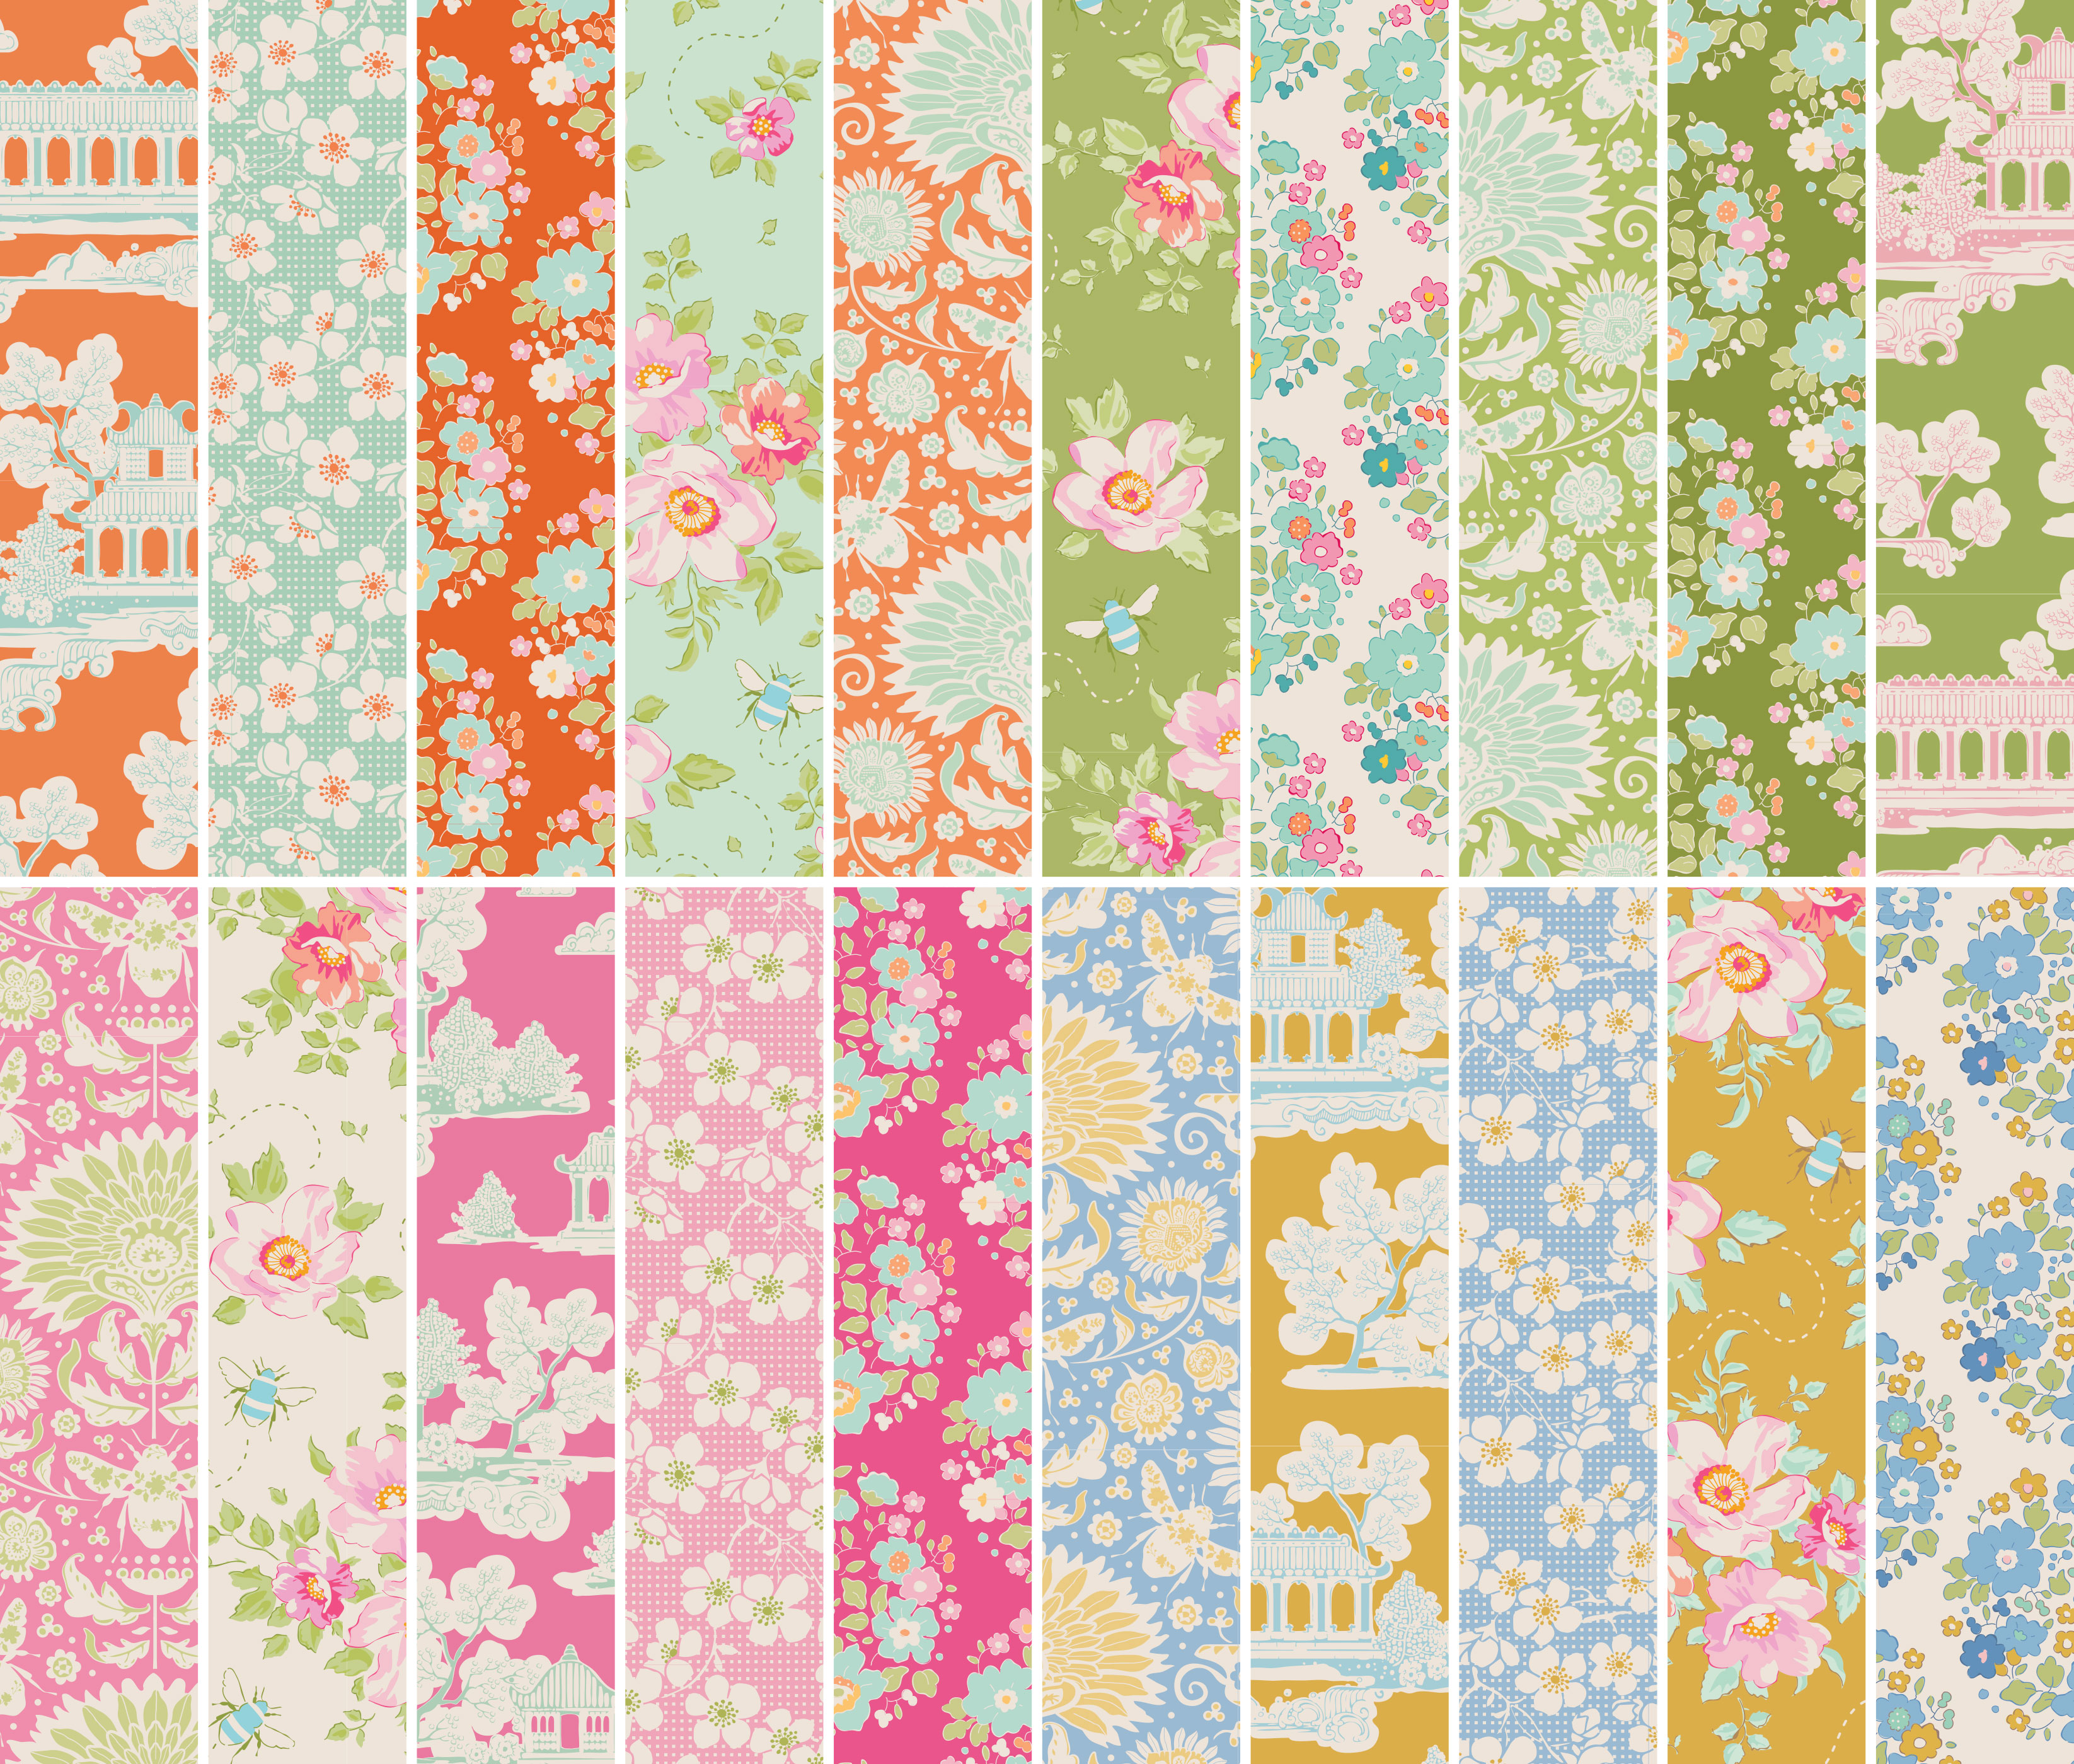
Here are some examples of how you can put the pieces from the two different designs together to create different motifs.

Paper-Piece-Applique-ideas

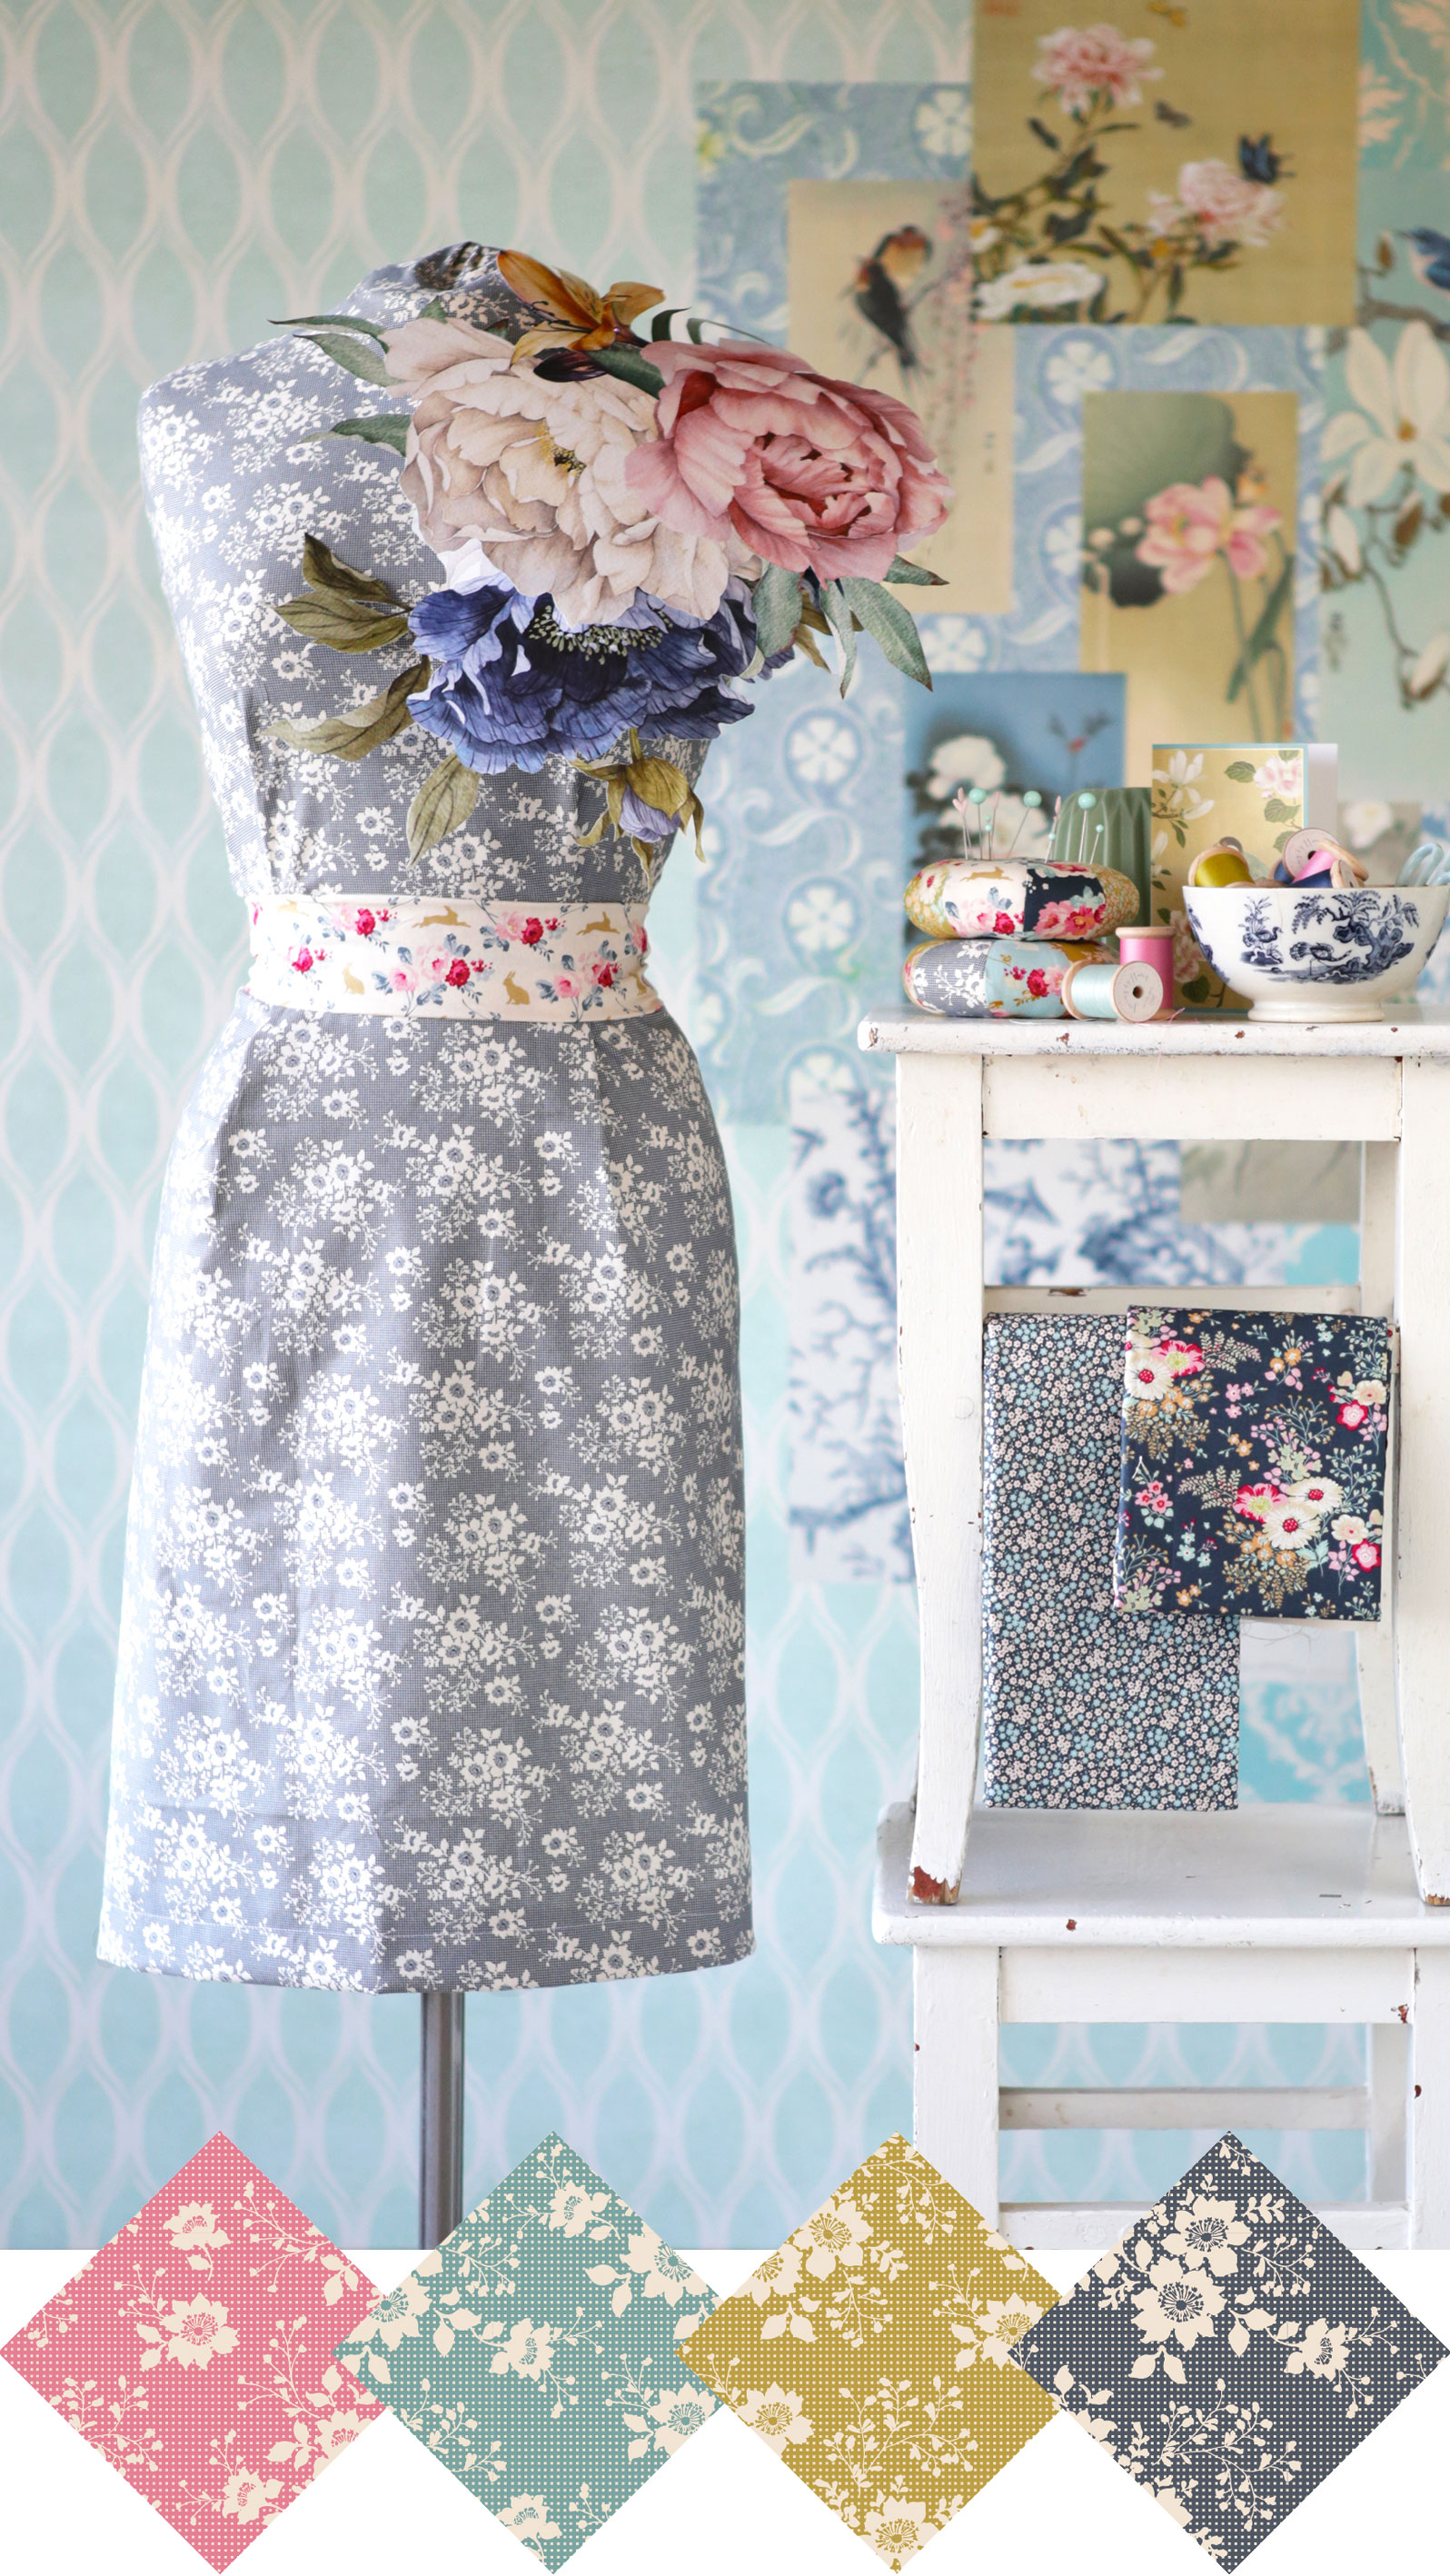
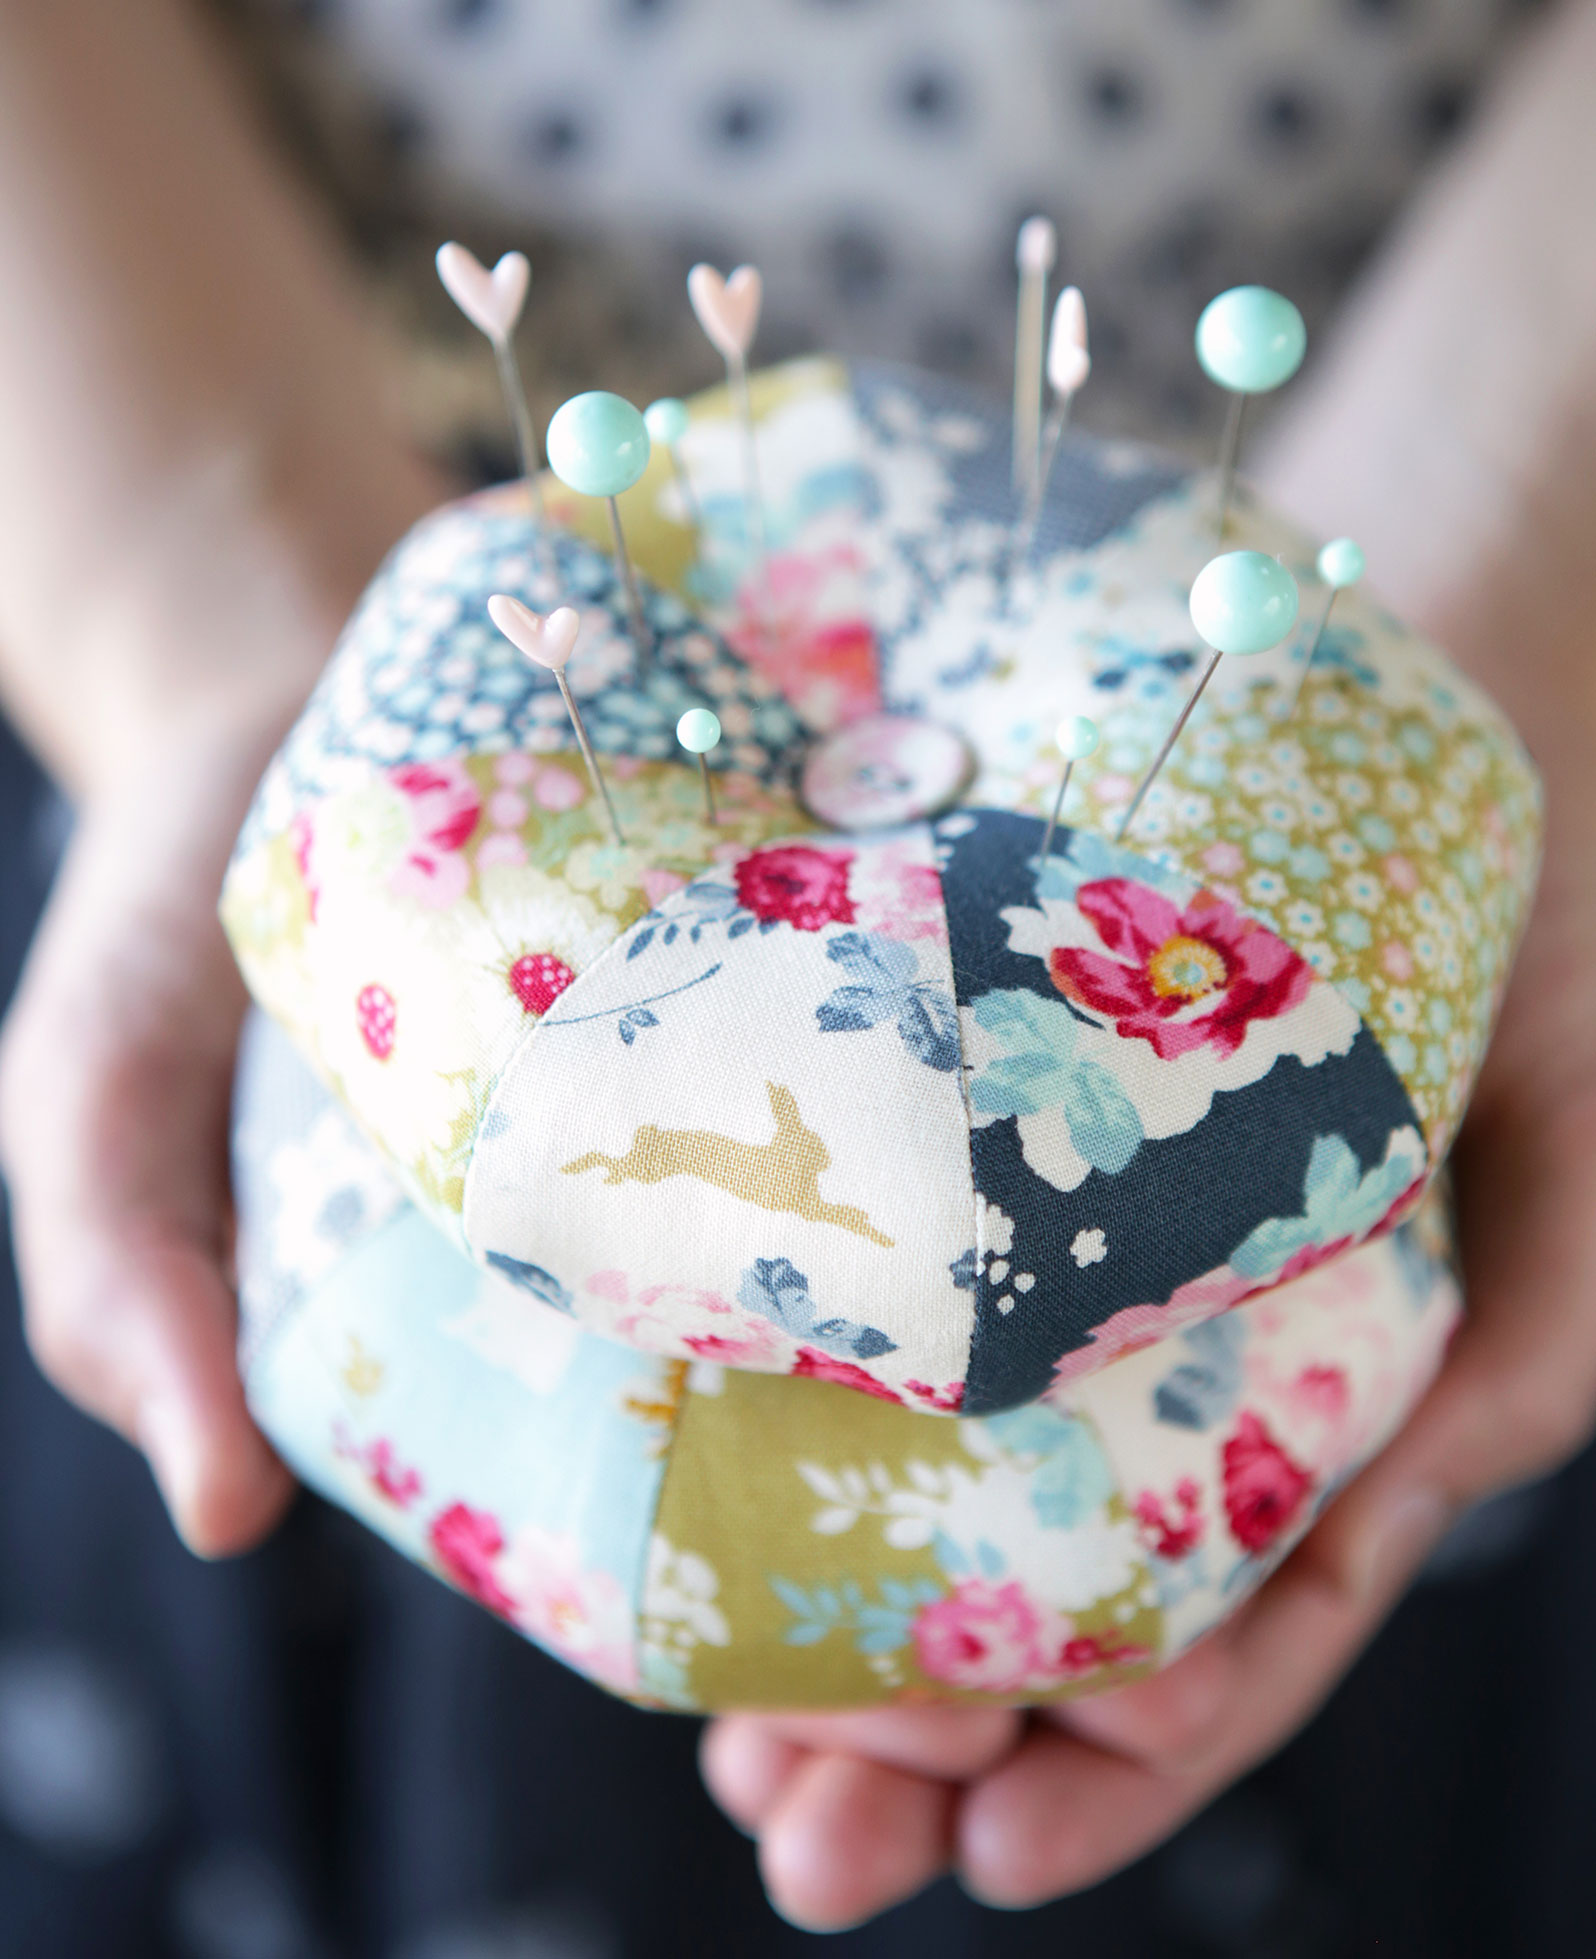
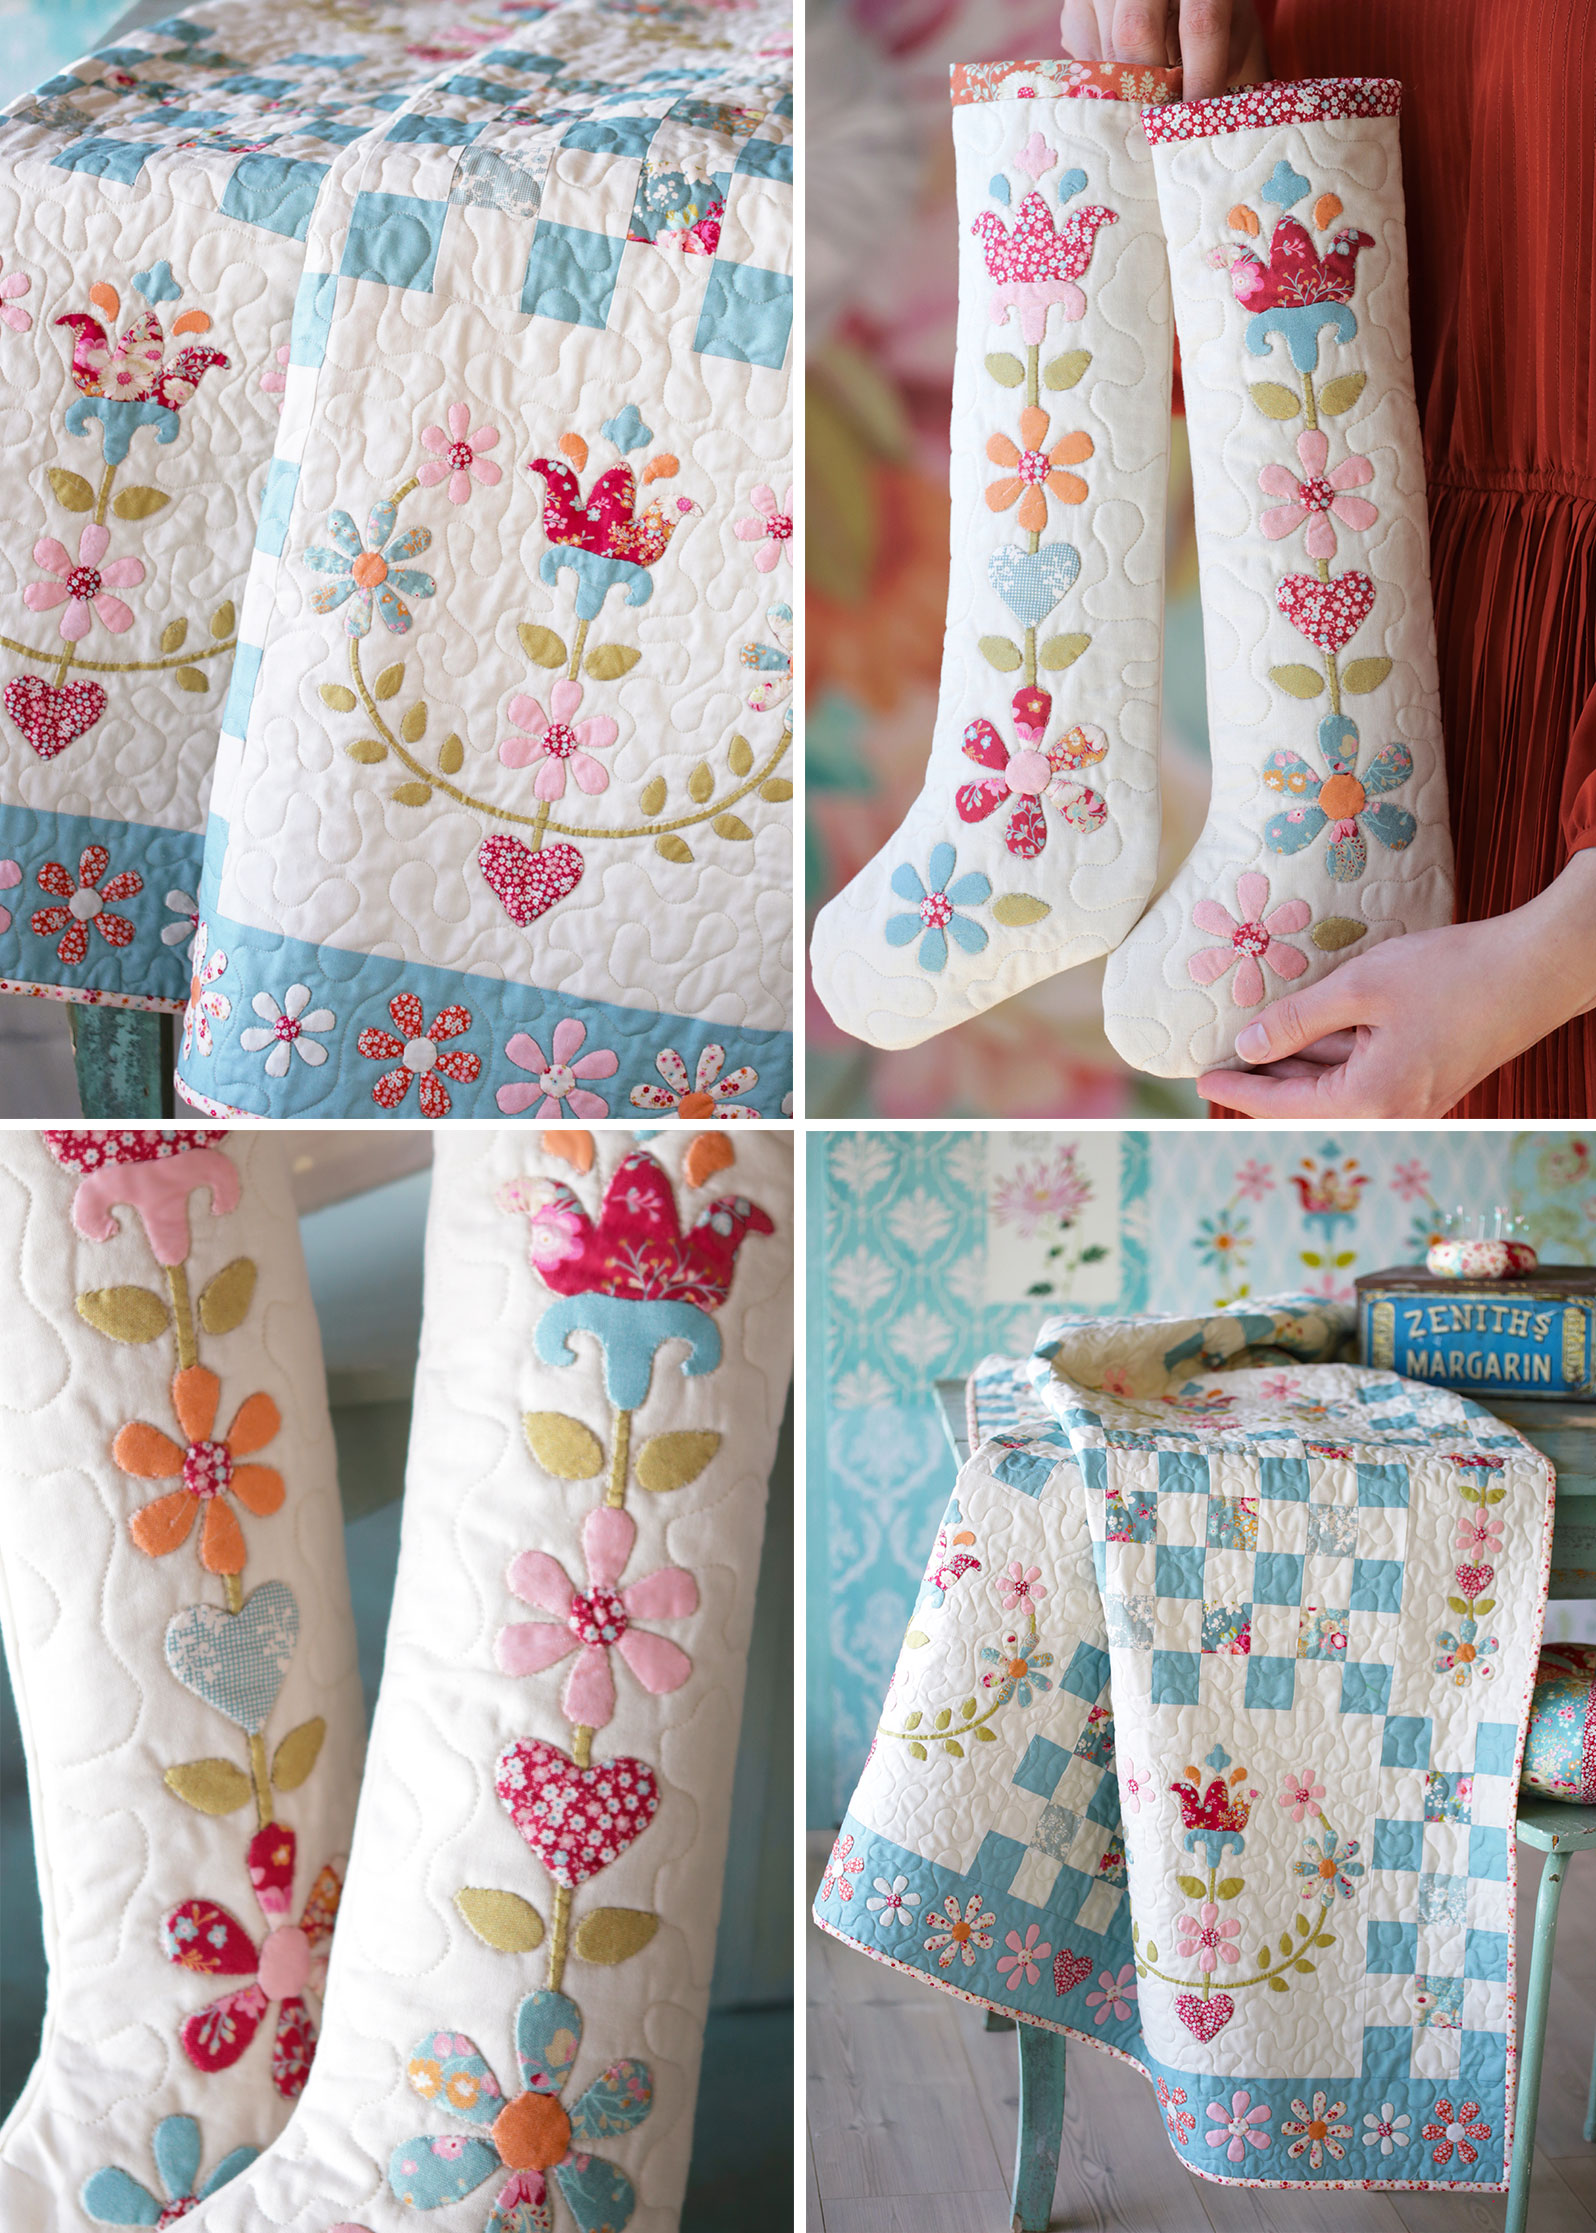
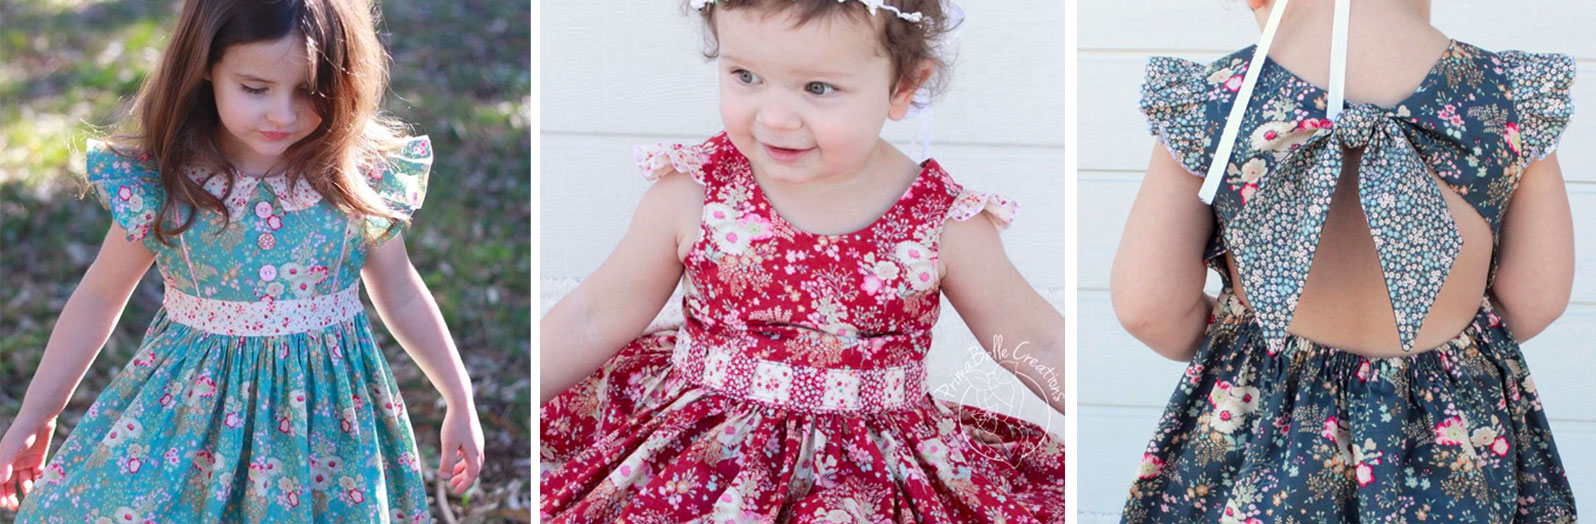
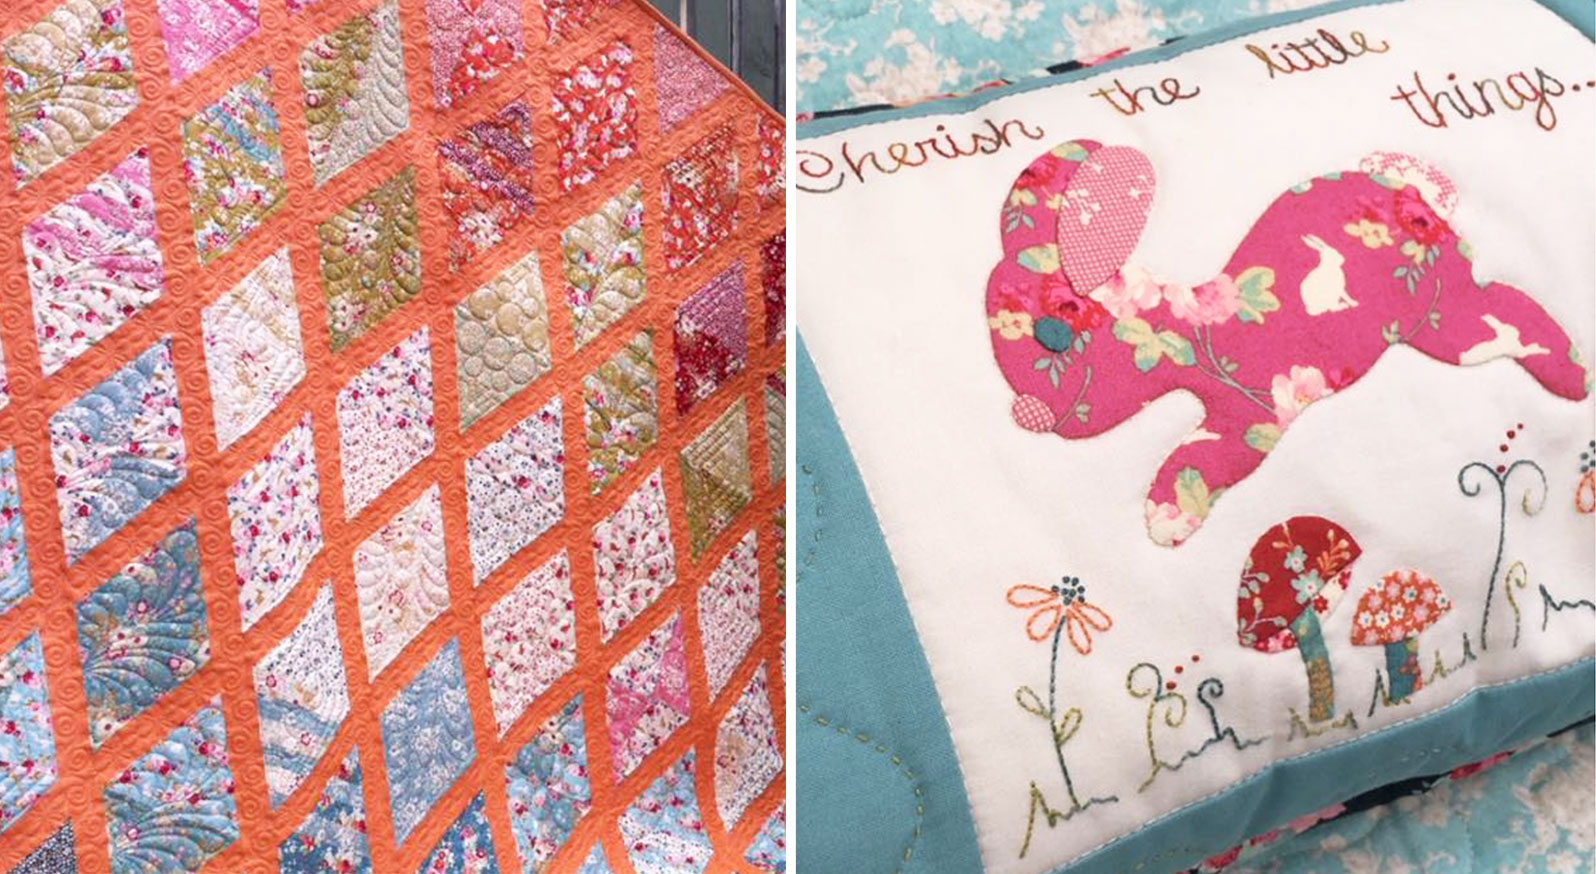
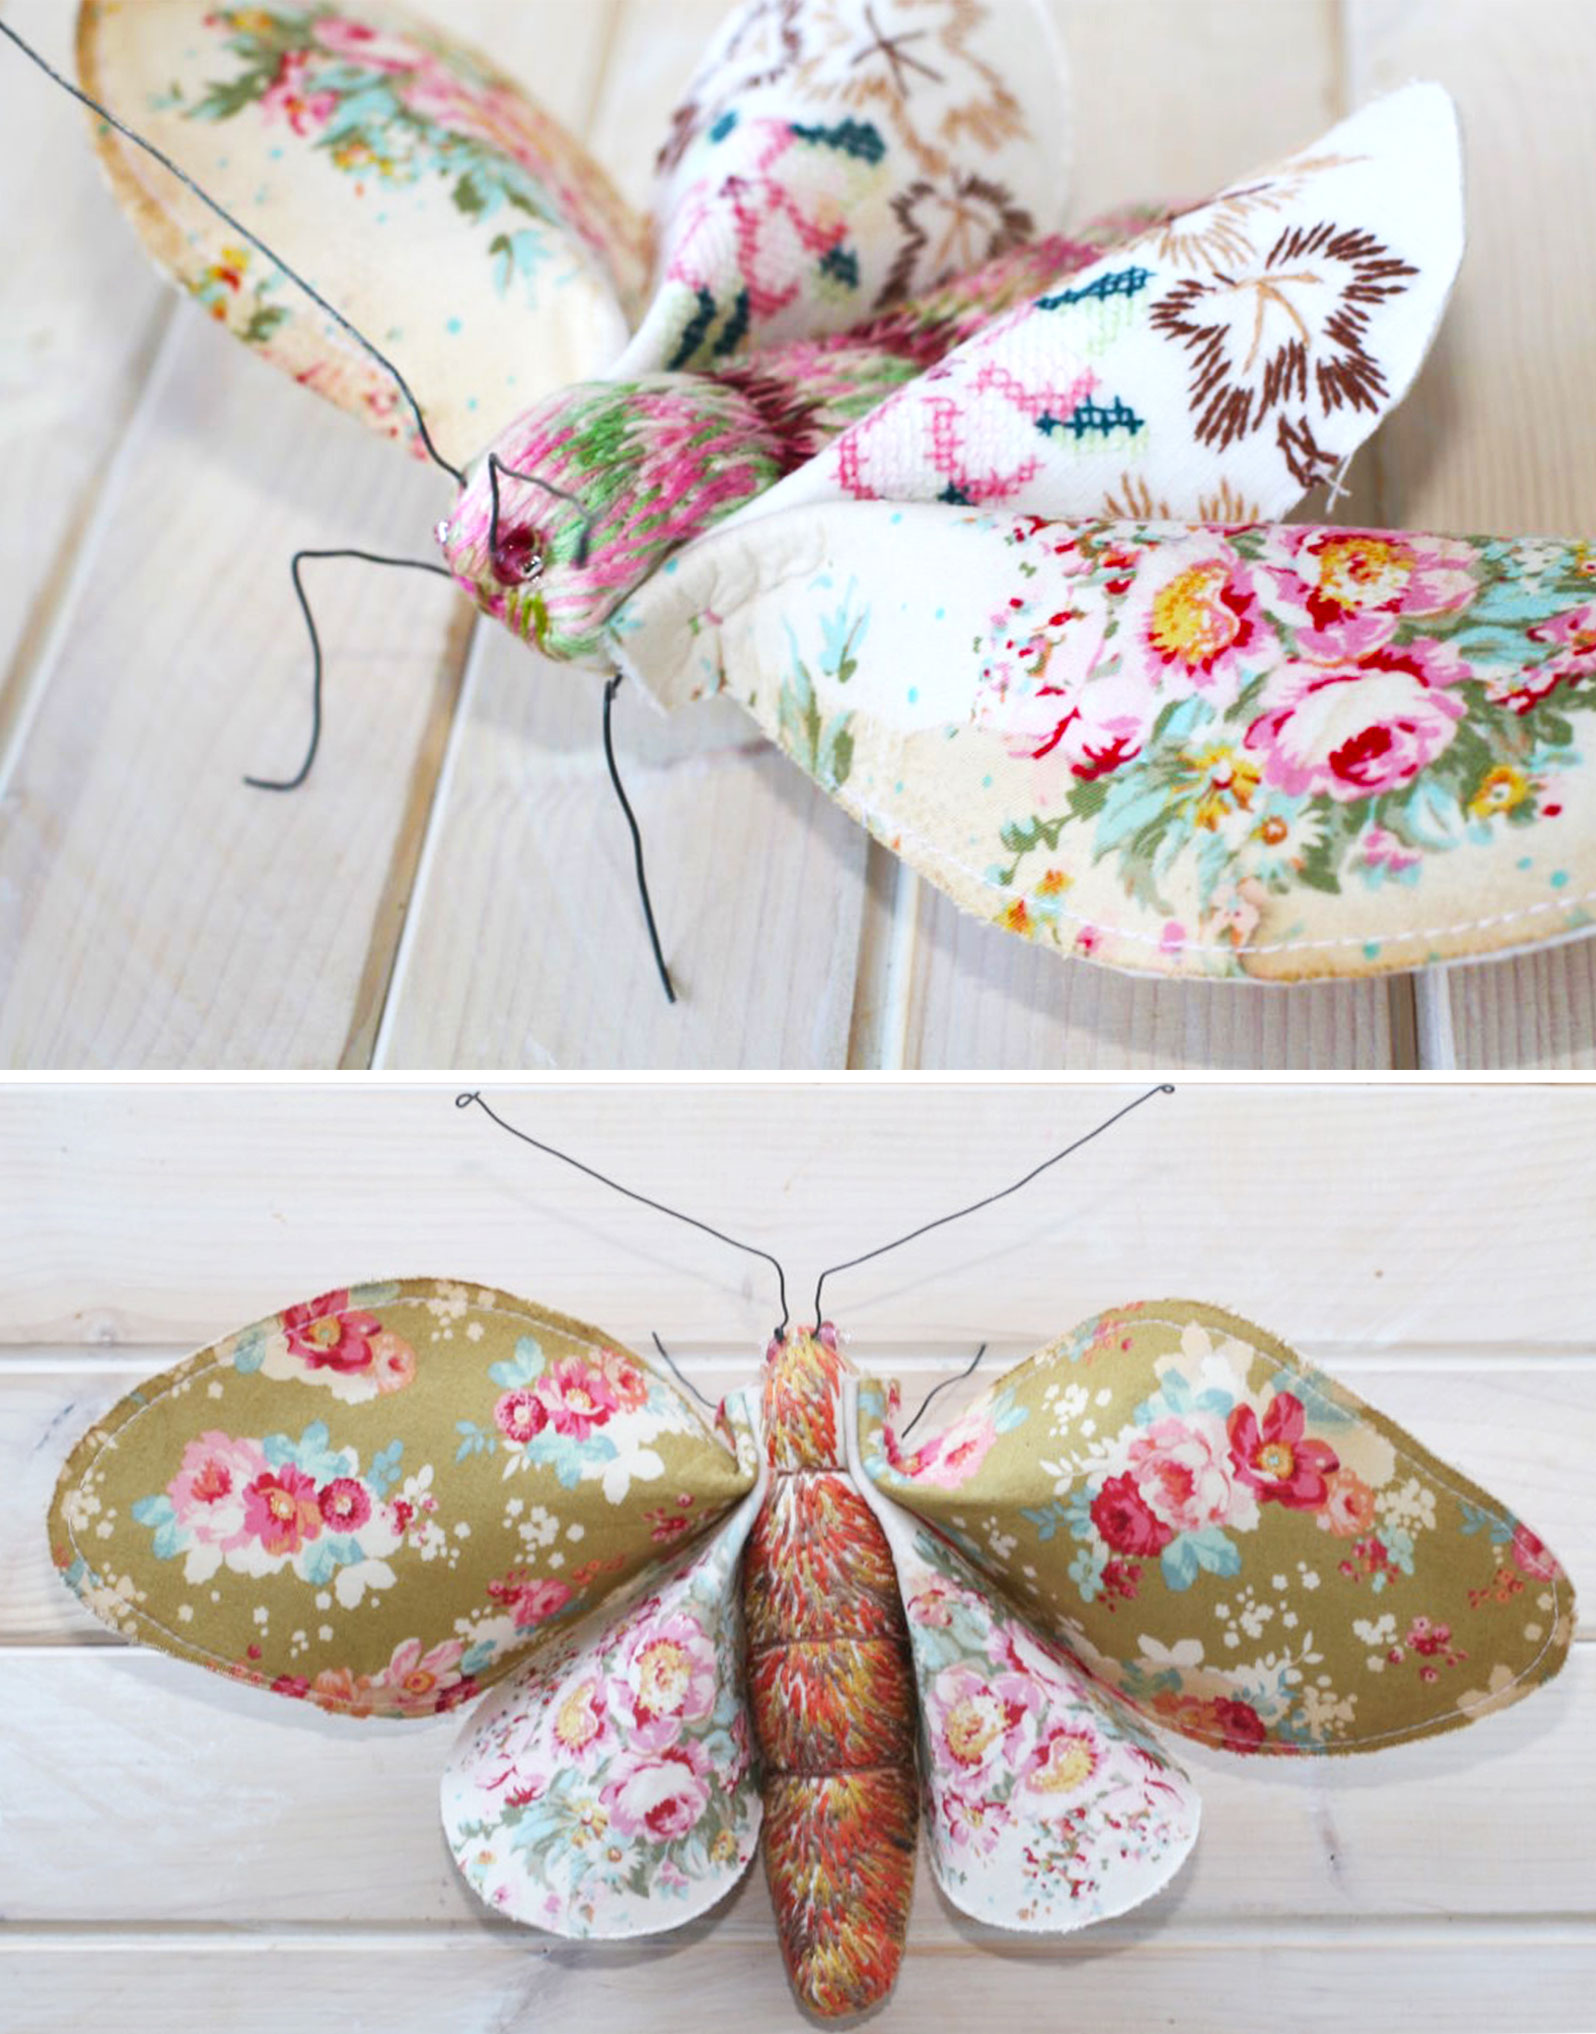
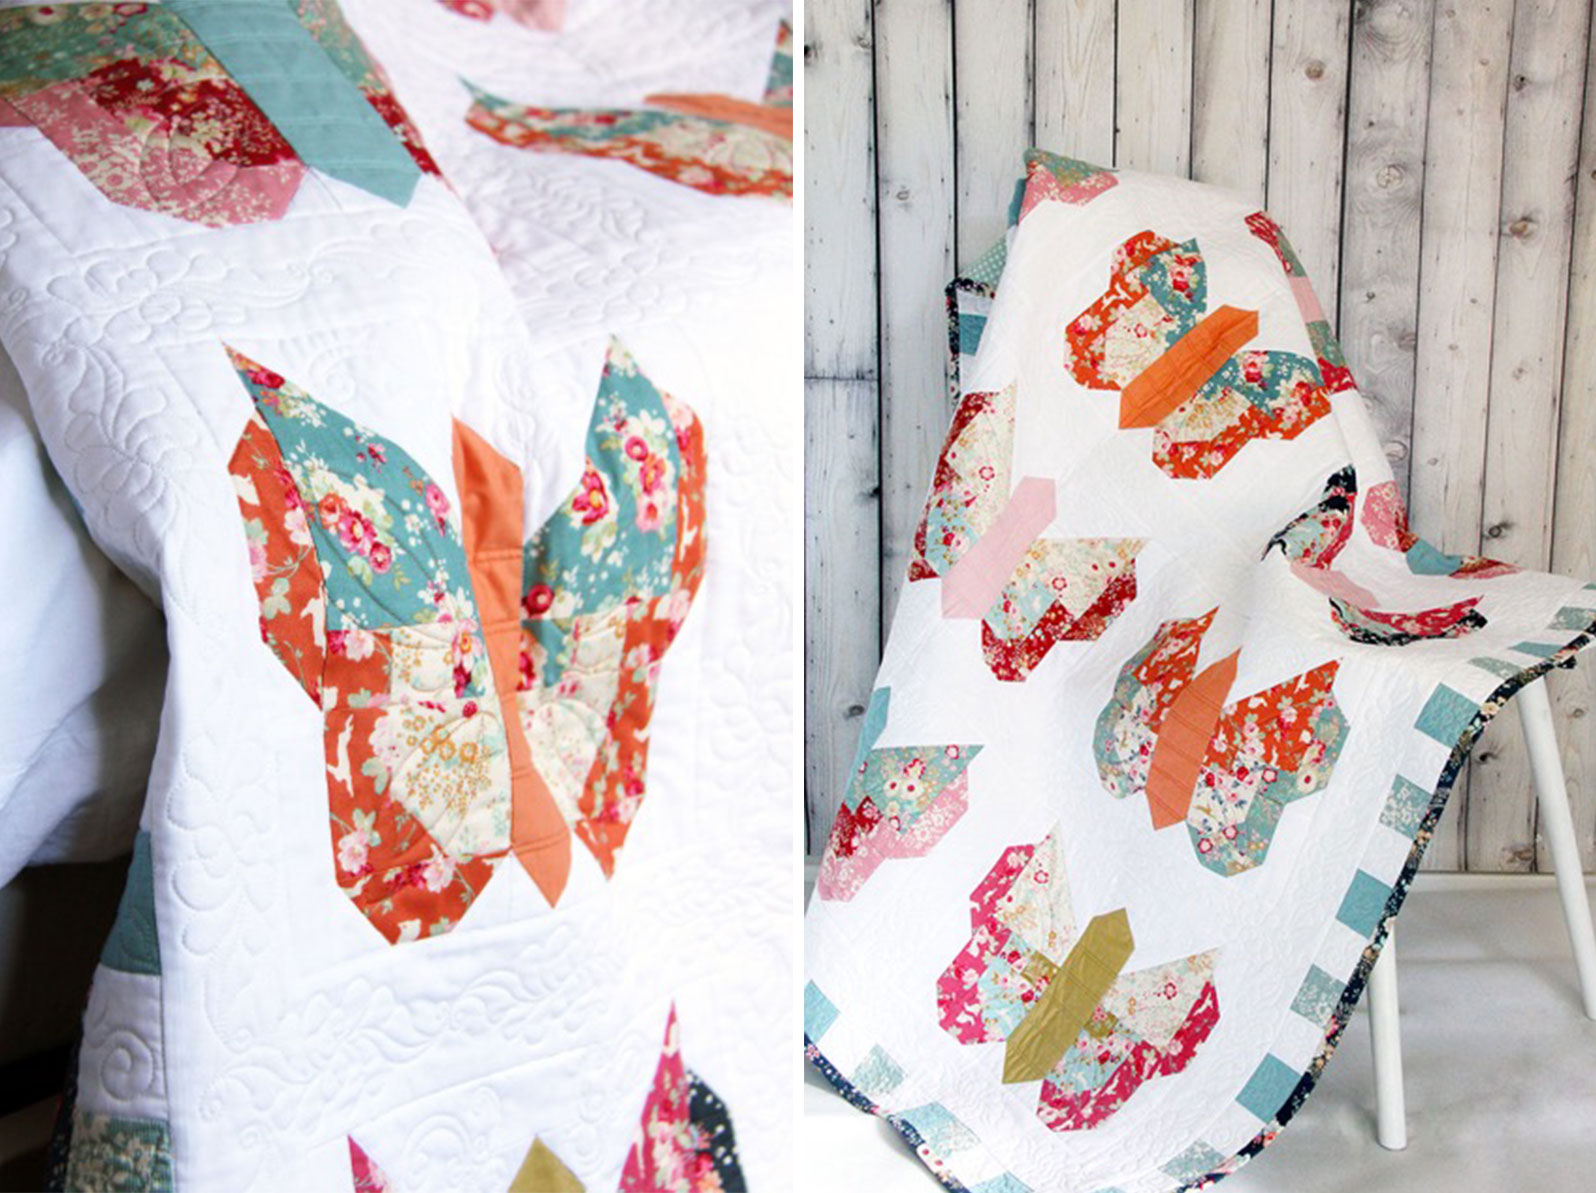
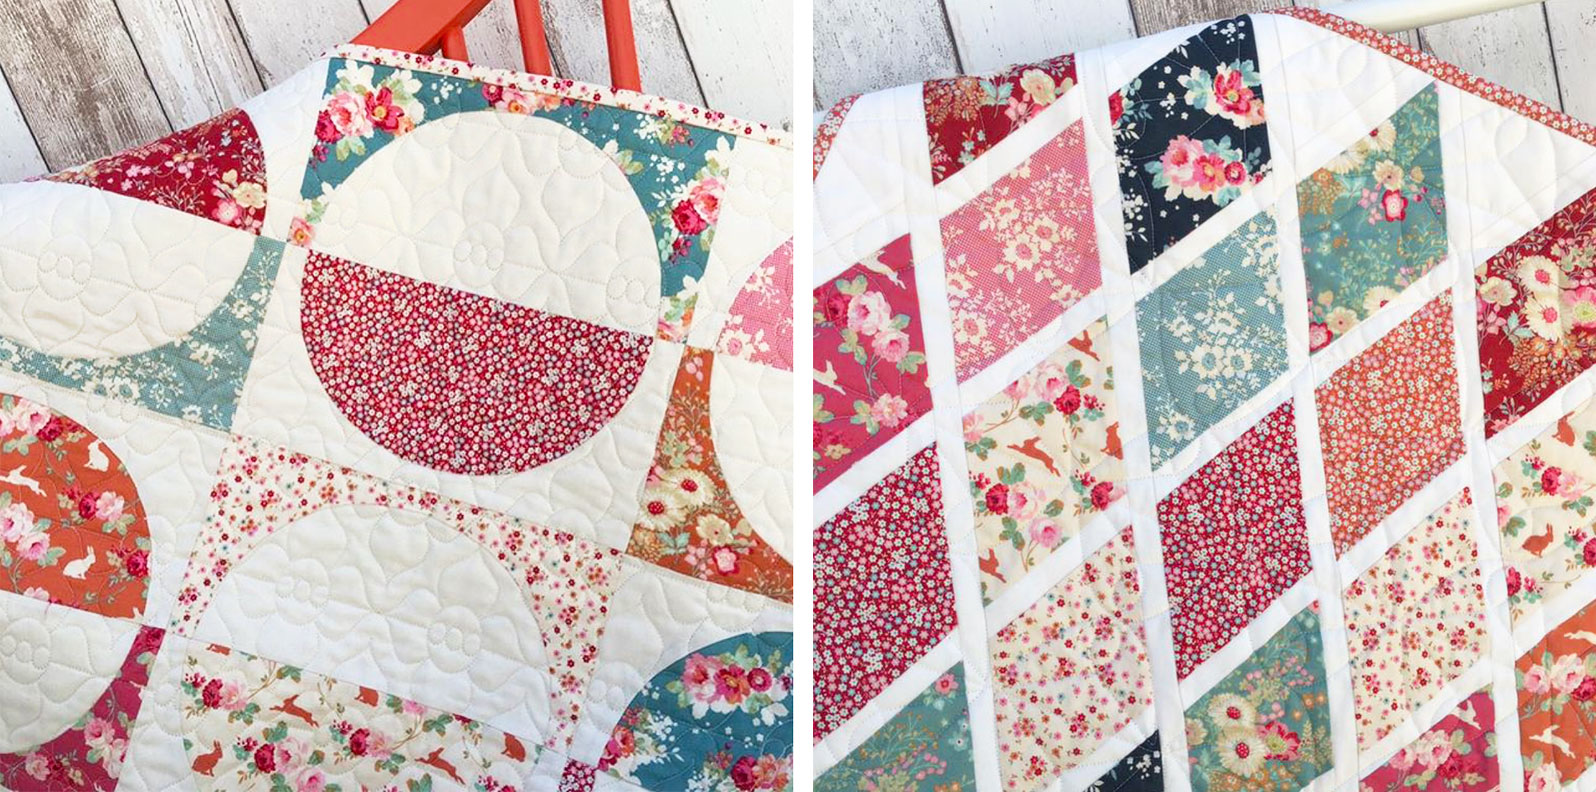
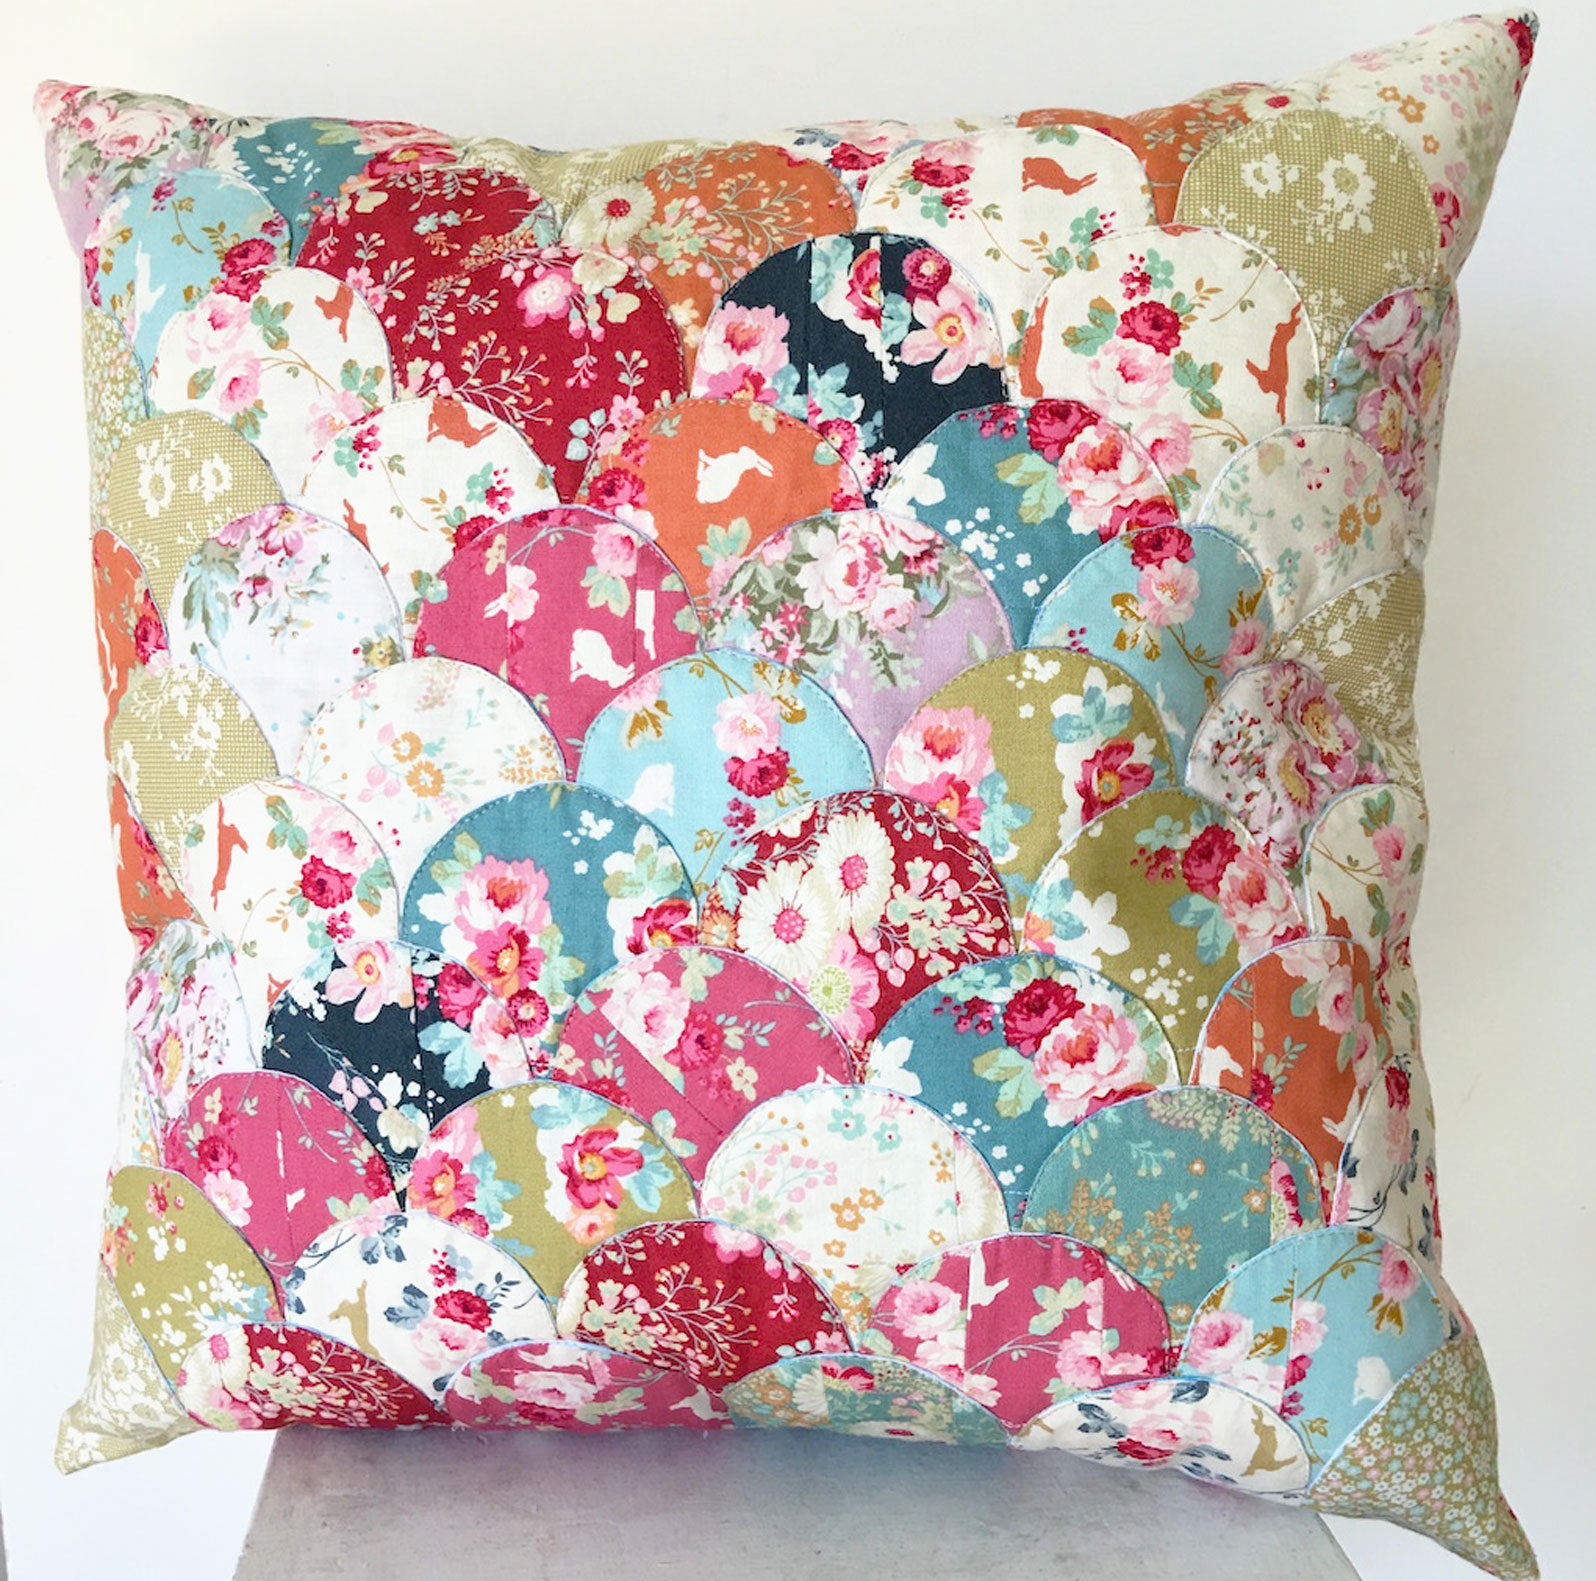
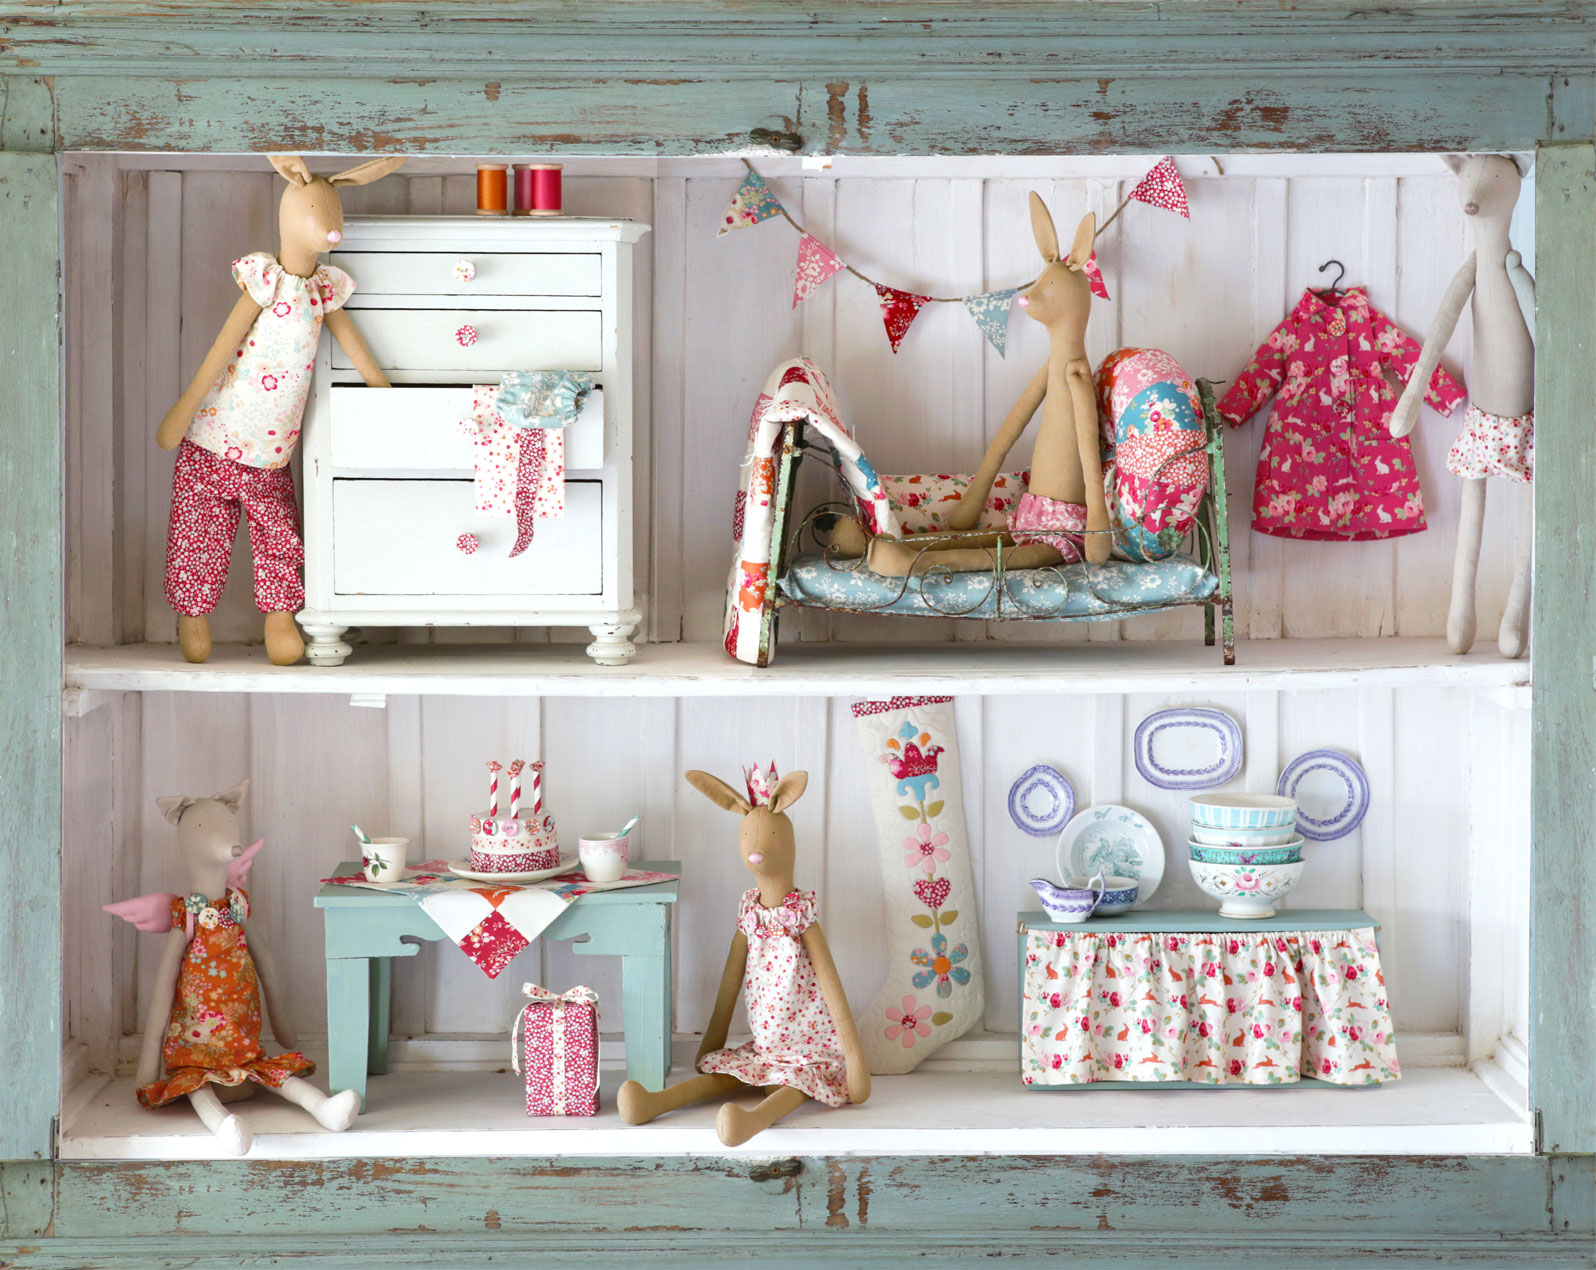
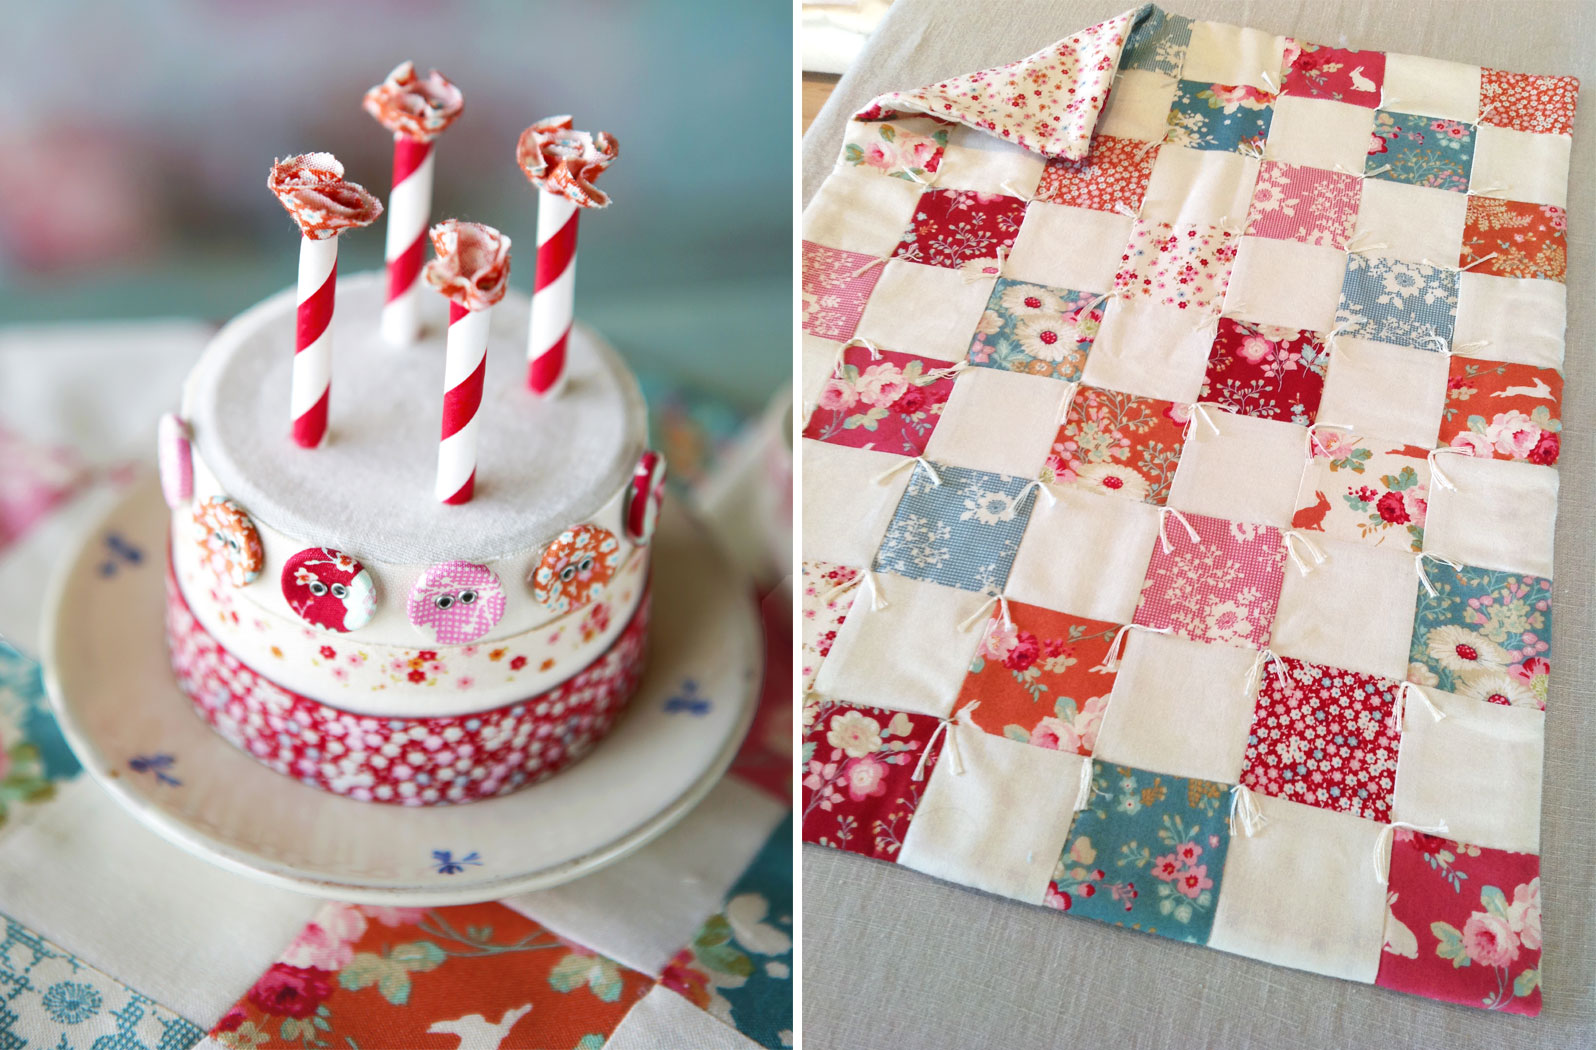
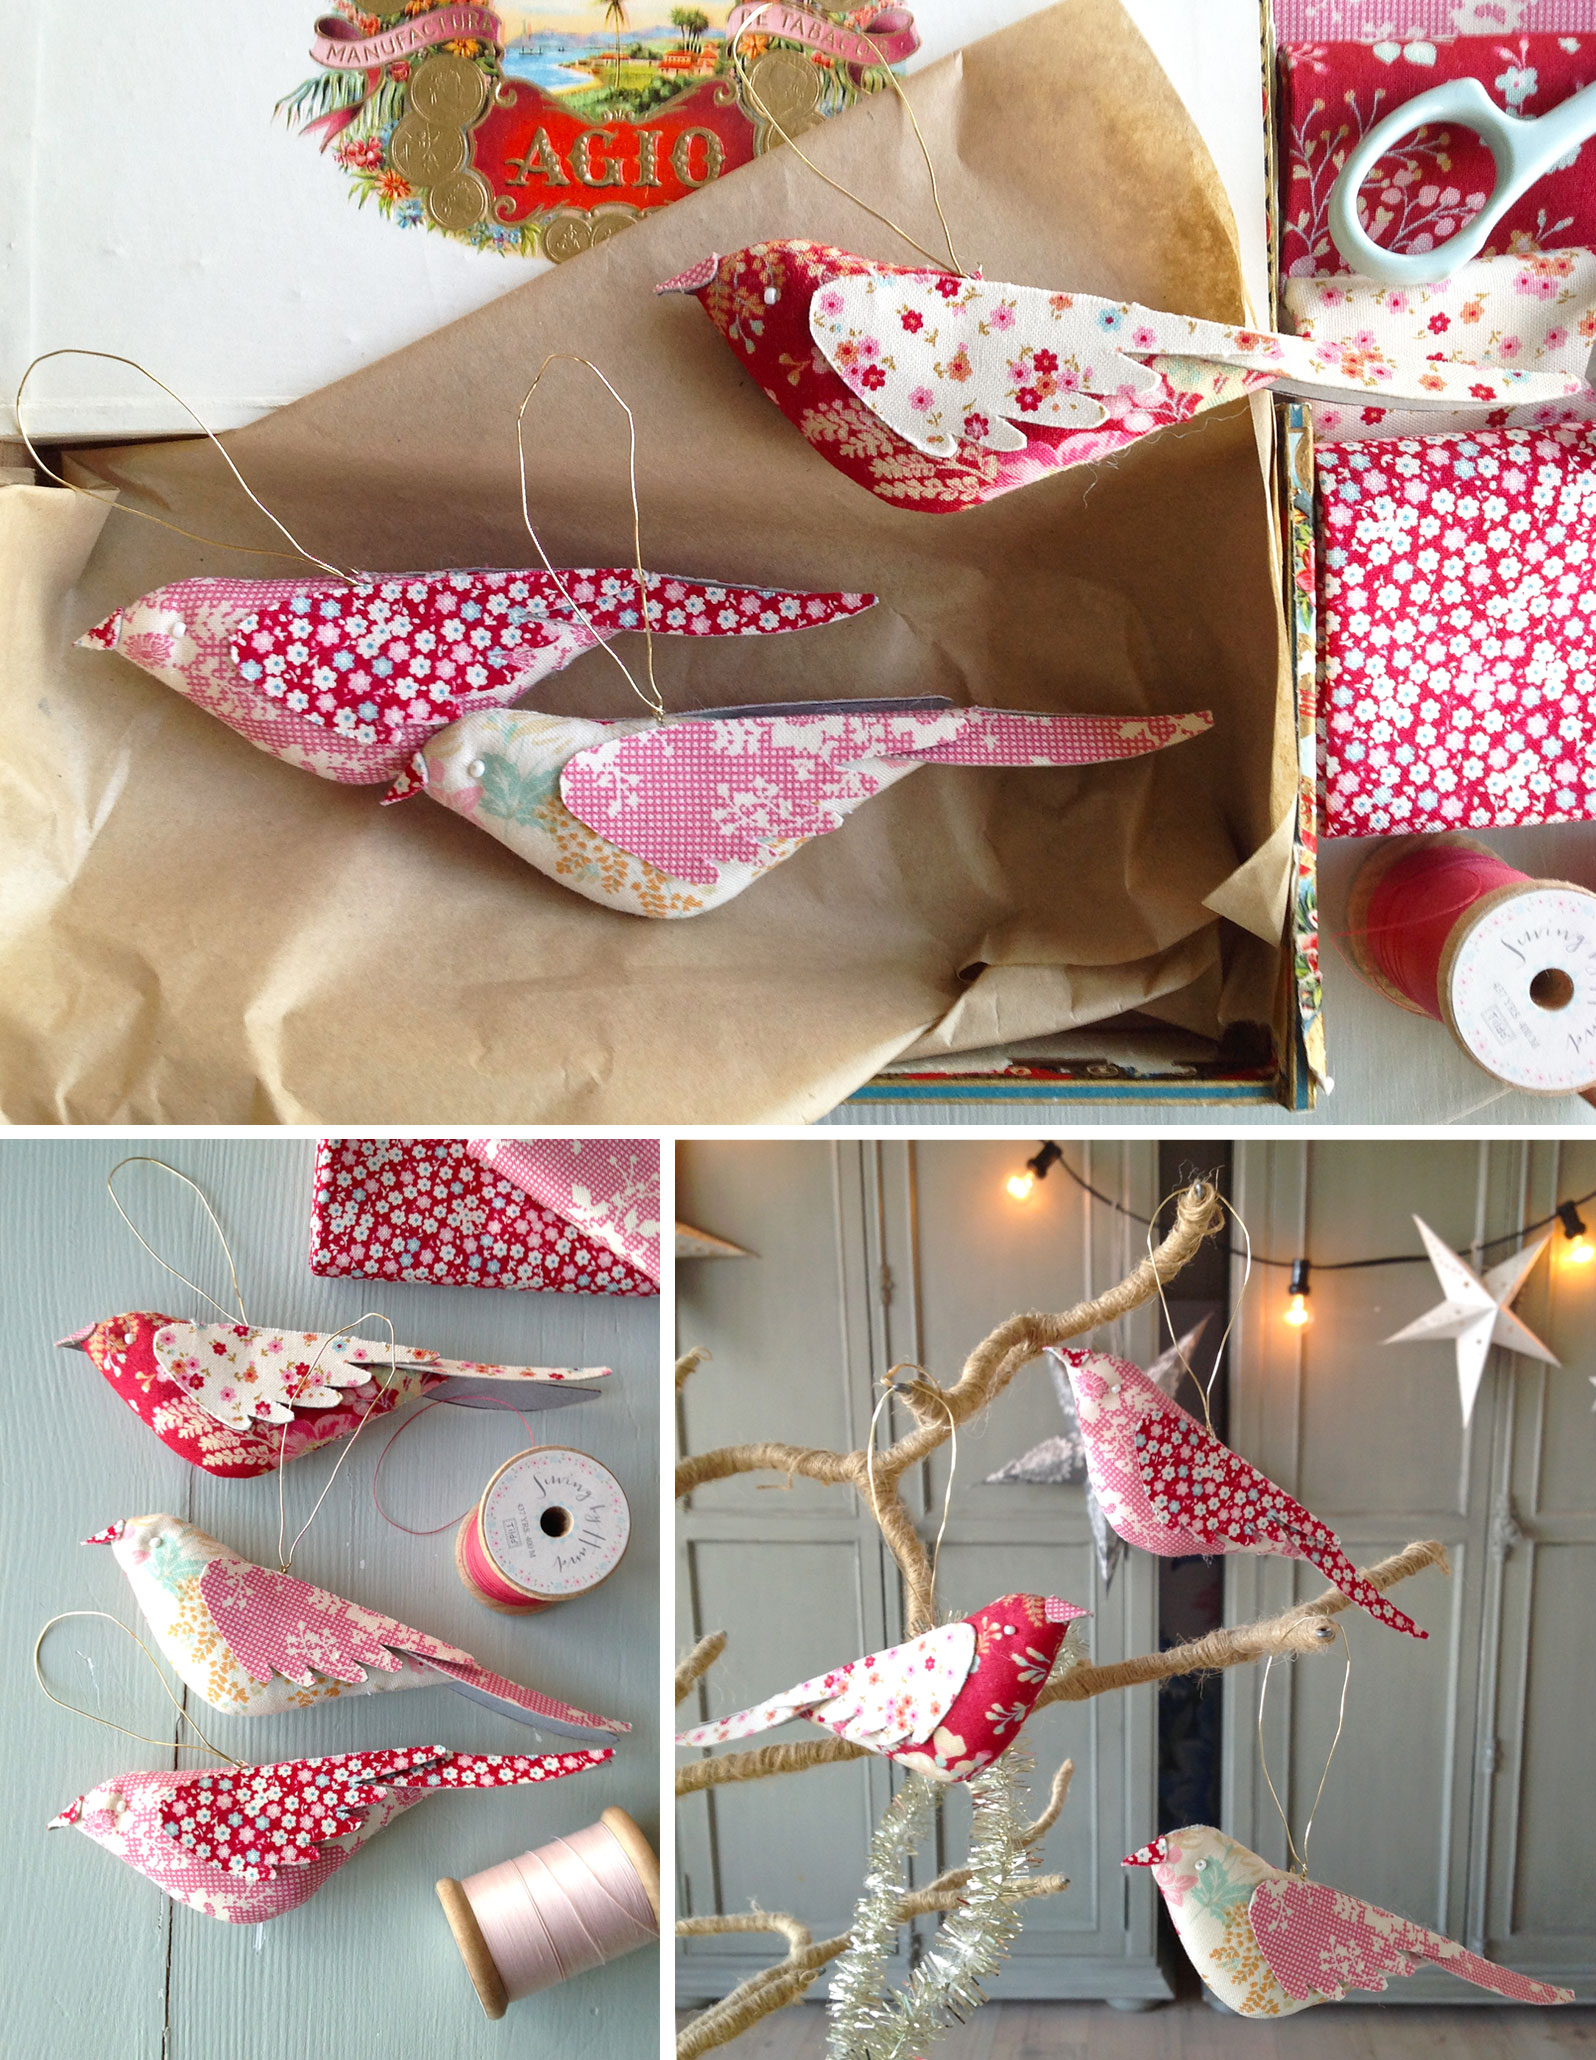
And here is what you can make!
We have used both designs in the same motifs. This is fun, easy and requires no talent for appliqué techniques.

Paper-Piece-Applique

Tilda Showcase

$
0
0

Our Australian whole seller is organizing a fantastic Tilda Showcase during the Australian spring.
Oh… how we Norwegians envy the Australians this time of year while it is getting cold and dark outside.

Here is what they write:
“During September and October we will be showcasing the talents of Australian designers, handmaidens and stores who have been creating with the latest Tilda collections Cabbage Rose & Memory Lane.
Projects will be launched daily starting September 1st, via Instagram, Facebook and designers blogs.”

As we all know there are so many talented designers in Australia and though we envy their September spring what a great way to spend the autumn for the rest of us. A project a day for two months!

Here is the ShowcaseCalendar for September.

Follow Tilda in Australia on www.instagram.com/tilda_australia/

Tilda-Showcase

Tilda Trunk Show

$
0
0

All the amazing projects made by Australian designers for the Tilda Showcase is currently traveling with the “Tilda Trunk Show” visiting stores that carry Tilda products and arranging Tilda Tea Parties.
Follow their journey below.

What a pretty welcome Hettie’s Patch arranged this friday!

Tilda-Tea-Party


Tilda-Trunk-Show


Cute projects

$
0
0

Amazing projects are poring in as the Tilda Showcase continues. Check out these super cute dresses in Lucille fabric.

cute-dresses

It takes a brave soul to use a ginger fabric in this way, but it works wonderfully. Love the little appliqué hare jumping over mushrooms.
You can find out who made what here ShowcaseCalendar1.

tilda-projects

Lovely thread

$
0
0

The “Sewing By Hand” thread is now available in more beautiful colors. This thread is a visual joy and the quality is just amazing!
Lovely wooden spools cost a little extra but is certainly worth it.
As you can see they where the photographer Sølvi’s favorite and we really love the pictures.

thread

Here are the available colors.

tilda-thread-colors

They match our block colored fabric perfectly.

block-colors

Peach Blossom Moths

$
0
0

Our talented friend Sanch who runs Red Brolly was inspired by Peach Blossom Moths to make a gorgeous quilt and absolutely wonderful fabric Moths.
We love the moths and would like a turquoise wall full of fabric moths in all sizes if we had the free space. 
This is just a wonderful gift for everyone who follows Red Brolly.

peach-blossom-moths

And how beautiful is this Peach Blossom Moth Quilt! Sanch combined the two fabric lines Cabbage Rose and Memory Lane beautifully.
Visit Red Brolly to get inspired!

The quilt is one of the projects for The Tilda Showcase organized by our wonderful Australian whole seller Two Green Zebras. Follow the showcase here to see new exiting projects every day.

moth-quilt

Floral Clothespins

$
0
0

This seasons new decorative floral clothespins are useful for more than hanging the wash. Here at the studio we use them for hanging cards, fabric and ribbon samples, scraps and what ever inspire us.

clothespins

They are also useful for Christmas calendar bags, or for hanging dolls by the ears. We love the vintage floral look.

clothespins-2

Quilt inspiration!

Sewing Kit House

$
0
0

Sedef from Down Grapevine Lane has recreated the Sewing Kit House from the book Tilda’s Toy Box in this seasons new fabric collections Cabbage Rose and Memory Lane. Very pretty!

If you love sweet projects and colorful palettes go and check out her blog!

sewing-kit-house

Patchwork Hearts


Butterfly Wings

$
0
0

Awww, how cute! Wife-Made‘s butterfly wings, we should have posted this one before Halloween, but you can always make them for next year, or for any dress up event. So adorable!

butterfly-wings

Clamshell Cushion

$
0
0

It’s always nice to find ideas on how to use those fabric scraps left over from other projects and Red Brolly’s clamshell cushion is just perfect.

Notice how several leftover pieces are sewn together on some of the clamshells. That way all the smaller scraps can be used for this project, and we think it makes the cushion more interesting.
A really sweet and useful scrap project.

Check out Red Brolly’s sweet Peach Blossom Cushion tutorial.

cushion

A home for Christmas

$
0
0

We had so much fun building a home for our Tilda friends using what we found around the studio.
The house in it self is an old cupboard and although the ceiling is a bit low it works perfectly.

Quirky is good in our opinion, and everything doesn’t  have to be the perfect size.
This is such a great project to create with kids, and Tilda friends are approved for children all ages.
Why not start looking for the perfect vintage cupboard house and small quirky items. Perhaps your Tilda Friends will have a home for Christmas.

Oh, this would actually be a perfect Christmas calendar project for a lucky child, receiving one small item a day. Why didn’t we think of that before….

tilda-friends-home

The cake is made out of the bottom of a plastic cup, first covered with fabric and then decorated with ribbon buttons and pieces of striped straws as candles.
The doll quilt and tablecloth is sewn using 2,5 in squares.
An old stool is the perfect table, and eggcups perfect doll cups. The kitchen counter is a Tilda fat quarter box turned on the side.

Maybe you can find a tiny Christmas tree outside, use oasis to put it in an old porcelain cup and decorate with purls buttons and ribbon. It’s easy to get a bit carried away, you might need a bigger cupboard or a wardrobe.

cake-and-quilt

Christmas Birds

$
0
0

We just had our annual Christmas workshop in the Tilda studio and this year we made lovely Christmas birds.
They are quite easy to make and great for a workshop if you do some preparations.

christmas-birds

The body is sewn, and we had pre-sewn bodies for our workshop.
Here is the christmas-bird-pattern

You will need:
Cardboard or a plastic sheet for templates
Pen
Fabric for the body, wings, tail and beak.
Filling for the body
Flower stick for turning
Needle and thread
Thin cardboard for wings, tail and beak
Fast drying craft glue
Small sharp scissors
Purls for eyes
String, thin metal wire or thin ribbon

Make sure you have a needle with a head small enough to go trough the small purls you choose for eyes.

First you need to make cardboard or plastic templates for all the pattern pieces, then iron the body fabric right sides together and trace the body onto the fabric using the body template.
Sew on the line and leave an opening for turning as shown in the pattern.

(Sewing the bodies is all the preparations we did for the workshop in addition to making all the necessary materials available.
We also printed out a pattern for each participant so they could make their own templates for wings, tail and beak.)

Cut around the body shape approximately 4 mm or 0,3In outside the seam and use the flower stick to turn the body.
Fill the body and tack the opening shot.

Glue fabric onto thin cardboard and trace two mirrored wings, a tail and a beak on the back using your templates.
Cut the pieces out with small sharp scissors.
Fold the tail a little on the middle so that it’s easy to glue it onto the bird. Glue the wings onto each side, and fold the beak before you glue that on.
Sew small purls on as eyes.

To hang the birds you can use a thin metal wire, string or thin ribbon.
The birds are cute as decor on the Christmas tree or on your wrapped gifts.

Happy New Year!

$
0
0

We hope you all had a wonderful Christmas and wish you a happy and creative new year 2017!

To get quilts and pillows ready for spring we need to get an early start so here is a look at the spring collection “Bumblebee” witch will be available this January.

Last summer we had a bumblebee nest just by the studio door, and although we sometimes had to run through the door to avoid bumblebees inside, it gave us a satisfying feeling.
There are not enough bumblebees in the world but we have a whole nest by our door.
Our bumblebee neighbors and reading The Bees by Laline Paull gave me the idea of a bee-inspired collection.

The Bumblebee collection is soft, sweet and full of flowers and beloved bees and bumblebees.
A happy colour palette reminds us of light and delightful spring days.

Have a bee-utiful day!

the-bumblebee-collection

bumbleee-collection

Viewing all 152 articles
Browse latest View live